
Granny’s Homemade Bread
There are some childhood memories I will happily carry with me ’til the day I die. As a child, my favorite times were those spent in the kitchen cooking with my Grandma on my Dad’s side. A self-professed “West Virginie Hillbilly” she loved to cook. Being married to a Syrian/Lebanese man expanded her repertoire of recipes — and there are many Middle Eastern dishes I grew-up loving, but the best recipe ever is my Grandma’s homemade bread.
Meet My Grandma, Mary Jane

Being in Gram’s spotless kitchen was a privilege. Kids were not allowed in there unless we were quietly sitting at the table eating, otherwise it was off limits…except sometimes to me.
You see, my Gram called me her “Shaddah” i.e. her “Shadow”. I loved her so much and she was truly my very best friend in the whole world up until the day she died (oddly both my Grandma and my Mom died in my arms).

Gram was very particular and quite honestly she never followed a recipe, she kept it all in her head.
As an adult, it was quite the challenge writing all of her recipes down to preserve them for our family. Everything was a “pinch of” this and a “handful” of that, oh and let’s not forget the “two shakes” of this, that or the other.
Seriously. It was funny, I actually took ingredients from her hand and then measured them out so I could get the recipes as accurate as possible.
The recipe below is old-fashioned, homemade bread. No bread machine, no shortcuts to rising; just pure unadulterated white bread and it is good! It was originally my GREAT GREAT Grandmother’s and was meant to be baked in an open fire. With a couple of slight modifications over the decades you can now just pop it in the oven.
Also worth noting, as you will see in the images, I do not “loaf” it. I “pan” it into large dinner rolls, but don’t let that confuse you as this is definitely full-bodied bread and not light and airy rolls.
Baking this bread will make a cold house warm and teaming with smells so delicious the whole neighborhood might stop by to see what’s cookin’!
PREPARATION
Making “Granny’s Bread” is an all-day affair so make sure you have no reason you’ll need to leave the house. In fact, this would be the perfect time to put together a pot of her bean soup to go with the fresh bread when it comes out of the oven.
If your house is cold or even chilly, light a fire or crank up the heat; you need the house to be nice and warm for several hours while you are preparing the dough or it will not rise properly.
Set out all of your ingredients so everything is close-at-hand because once you start mixing your hands will be a gooey mess.
Also, be sure to heat 7 cups of water in advance (do not boil it); heat it until it is almost too hot to touch, because touch it you will.
INGREDIENTS
You don’t need much to make some of the best bread you have ever tasted…

Photo Credit: Cheri M. Roberts
- 1- 5 lb bag (plus and additional 1-2 cups) of ALL PURPOSE (unsifted) white flour
- 3 packs of RAPID RISE yeast
- 2 tbsp of table salt
- 3/4 cup granulated sugar
- 7 cups extra warm water
- Soft (not melted) butter or margarine (the amount will vary depending on your taste)
MIXING
Mix salt, sugar and yeast in a large (the bigger the better) mixing bowl…
Add the super warm water…and then mix until all of the salt, sugar and yeast is COMPLETELY dissolved…

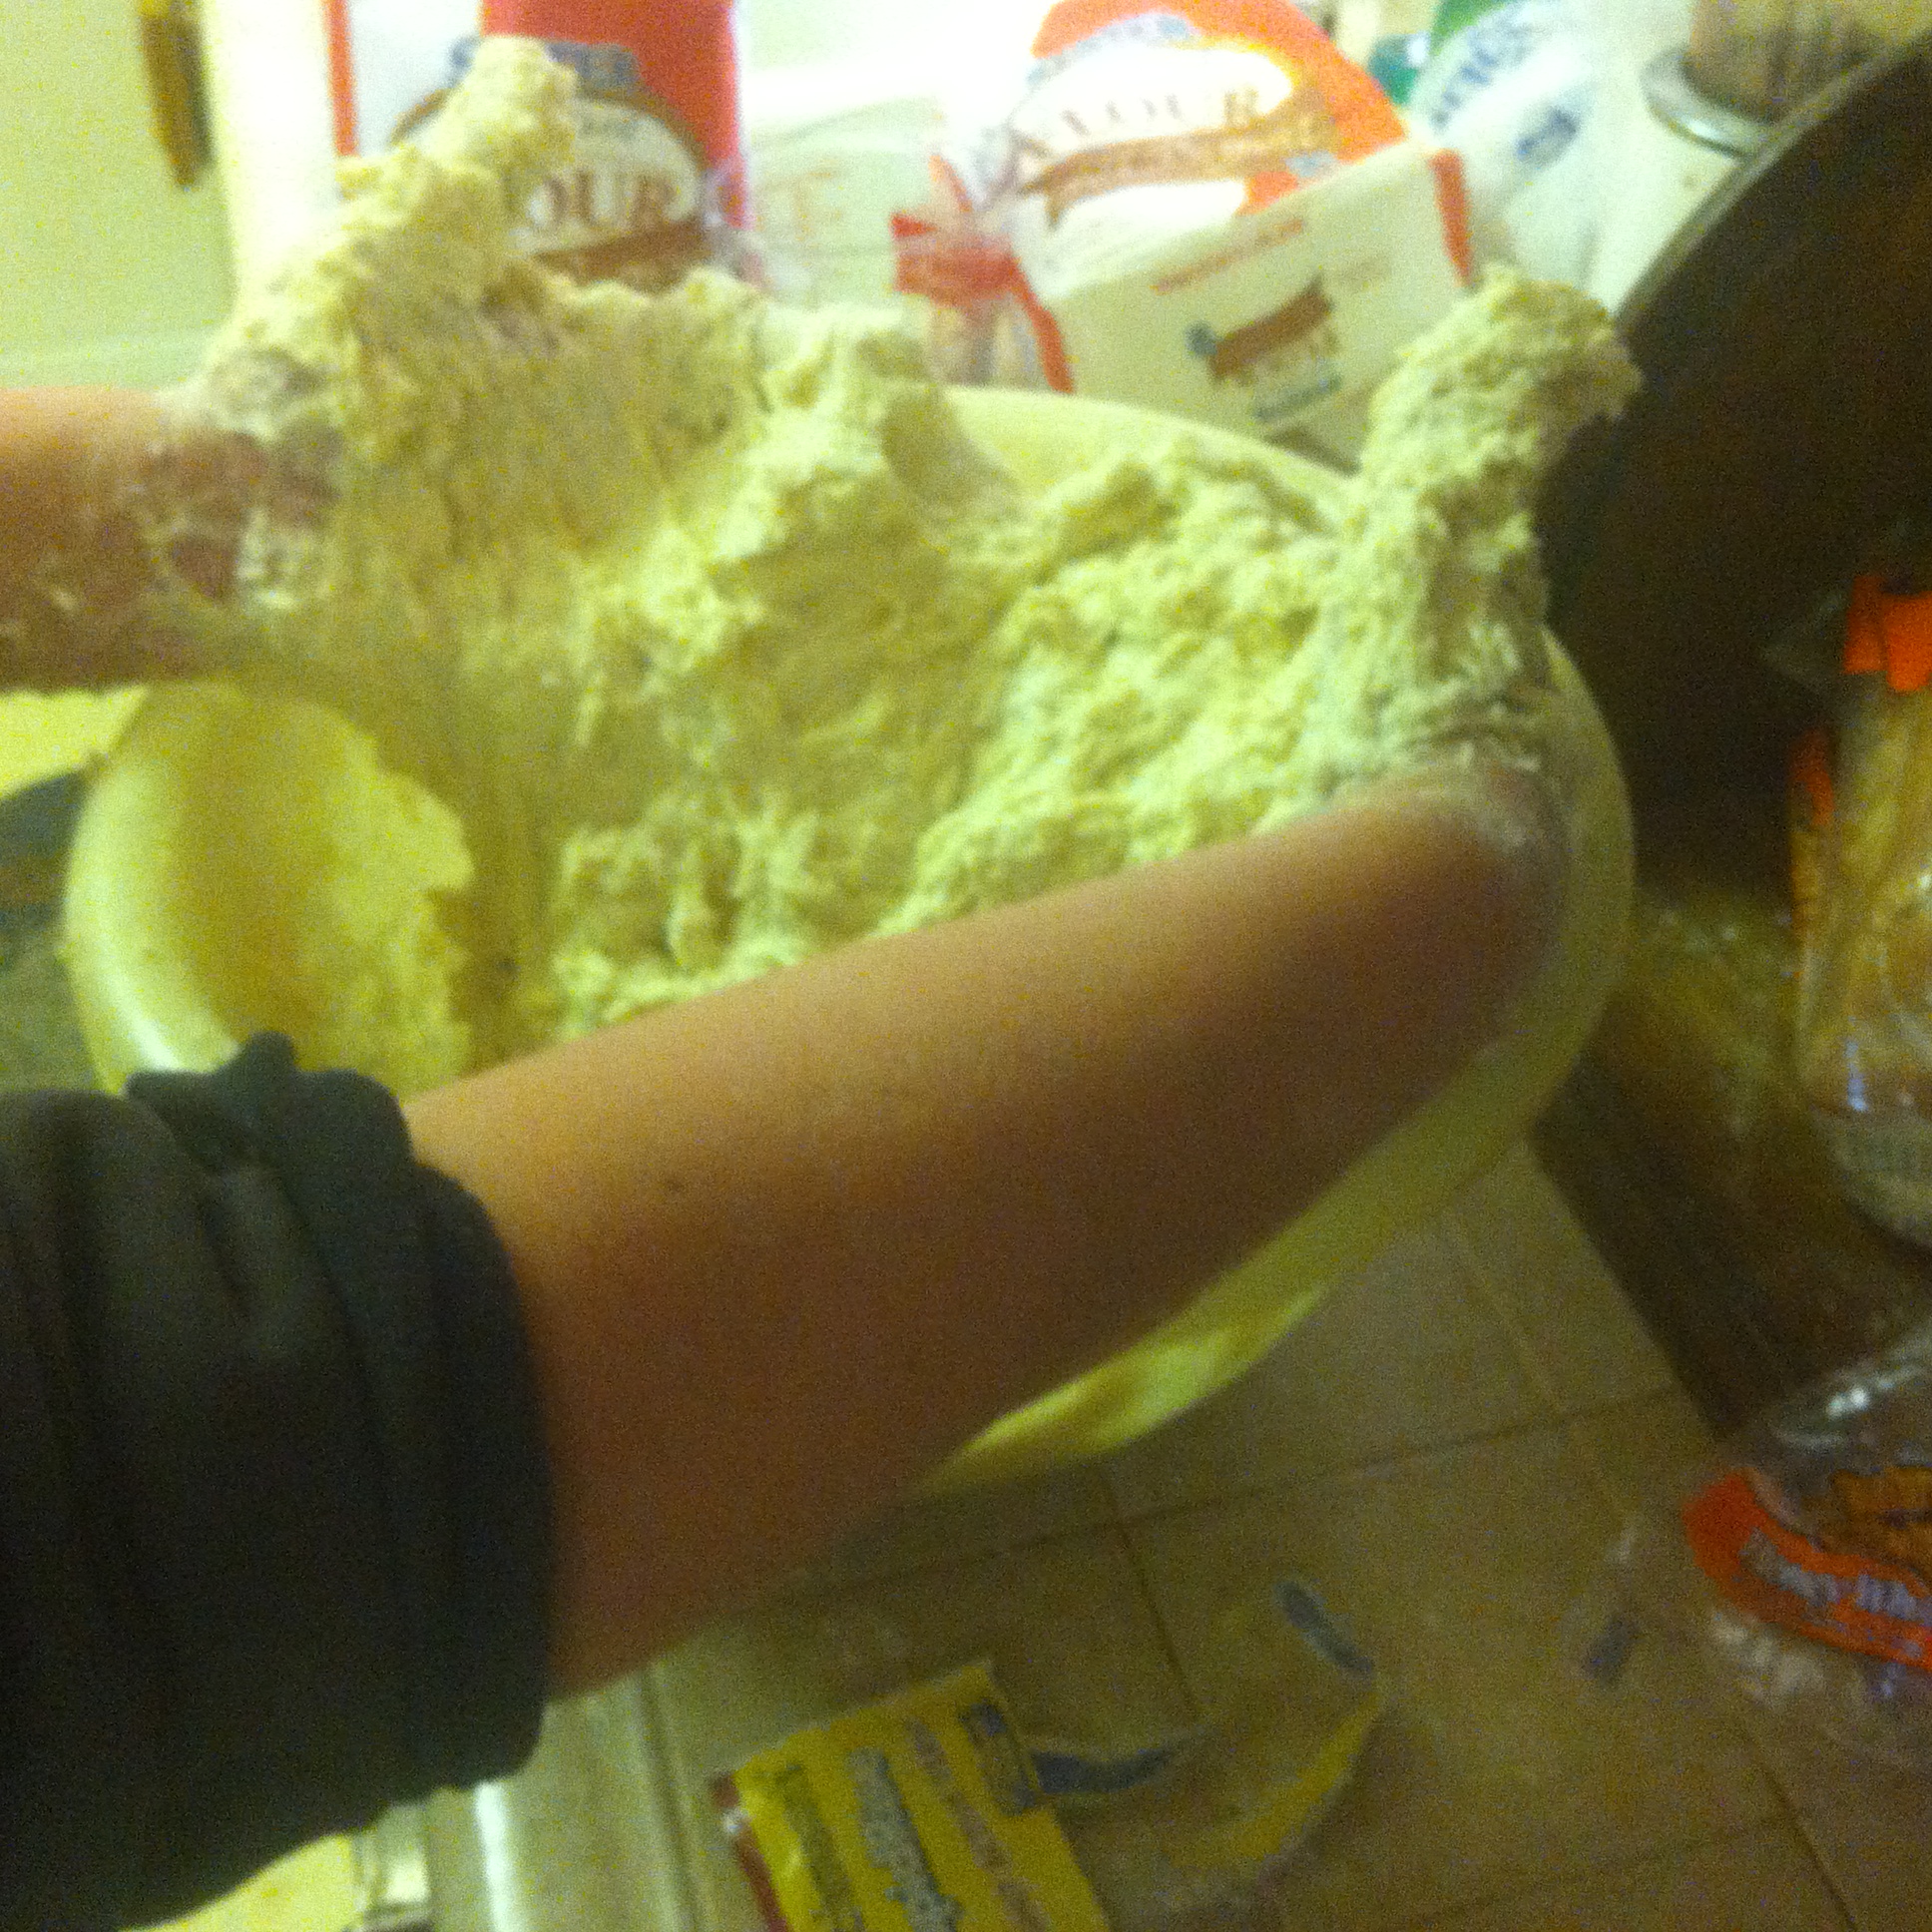
Now start adding the flour and get to mixing…YES, with your hands!!!

They call me “Sticky Fingers”…

LET IT RISE Part 1
Once you have it all mixed up, it will look a little like this….I know, gross huh?
Now, rub a little butter or margarine all over the top…

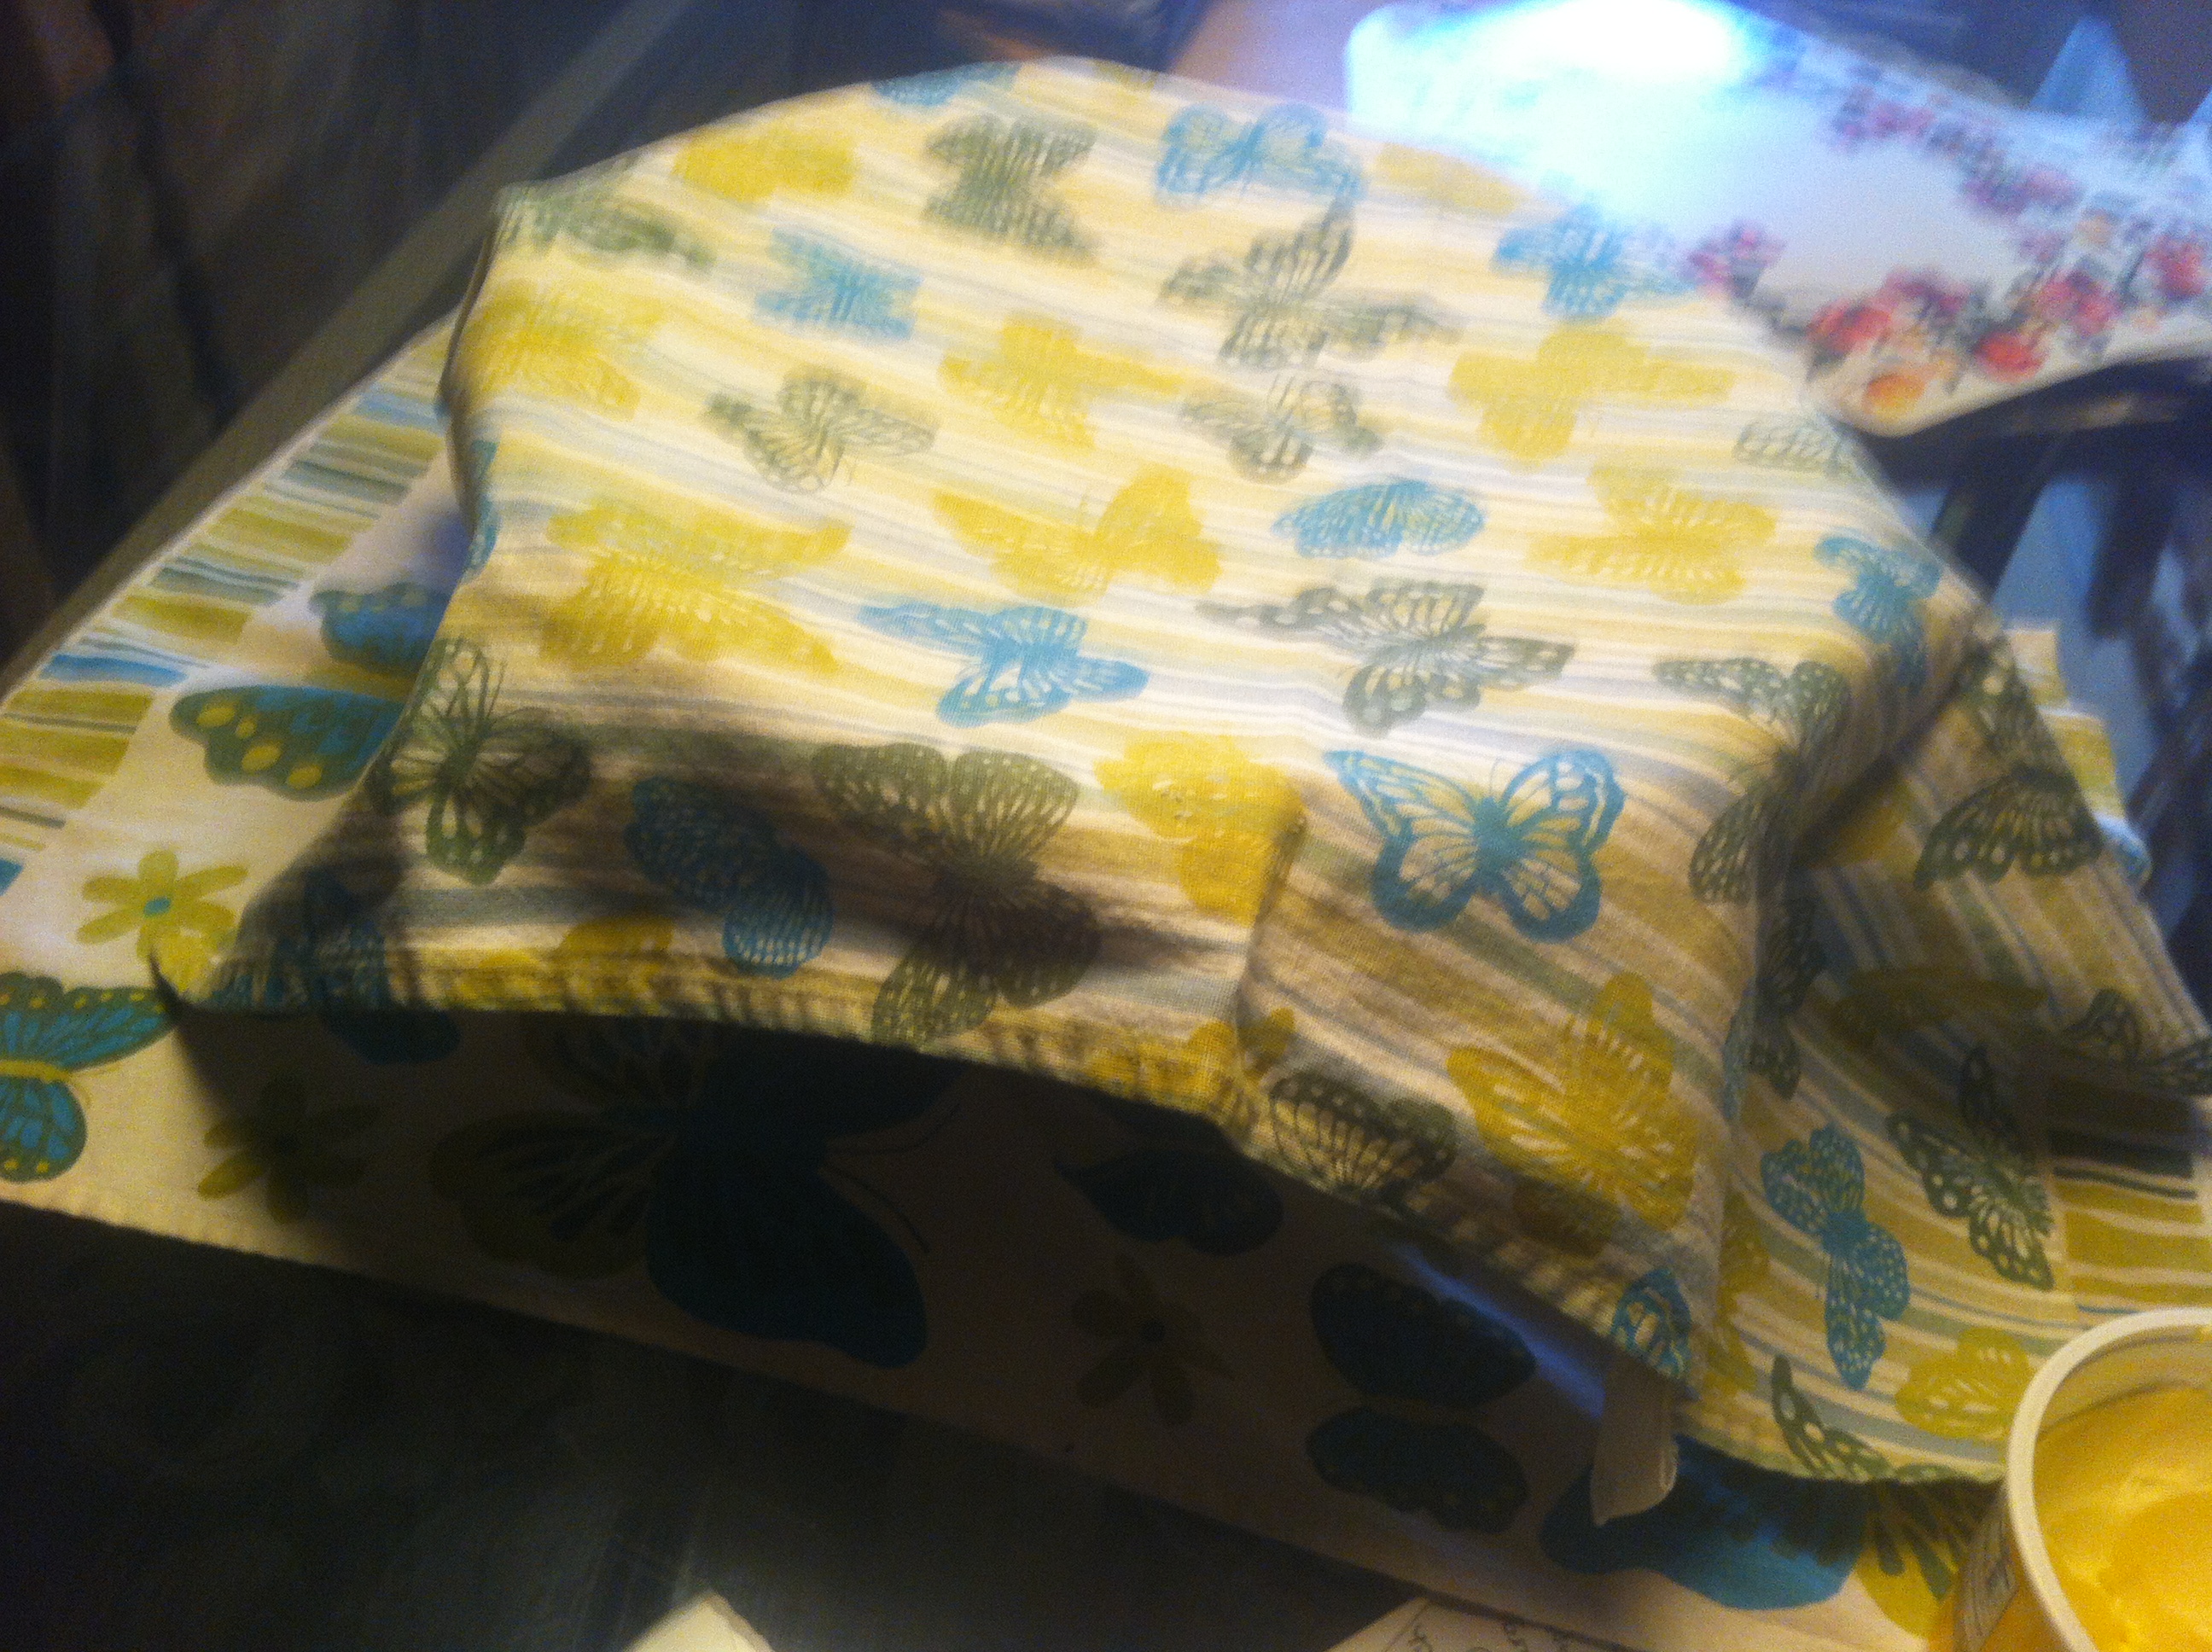
Cover it with a light hand towel or paper towel and let it rise…

It will start rising pretty quickly and after about 40 mins you should be able to notice a visible rise beneath the towel…no peeking!!!

OK, so I peeked, but do as I say, not as I do.
I just wanted to snap a quick pic so you can “see” the progress…
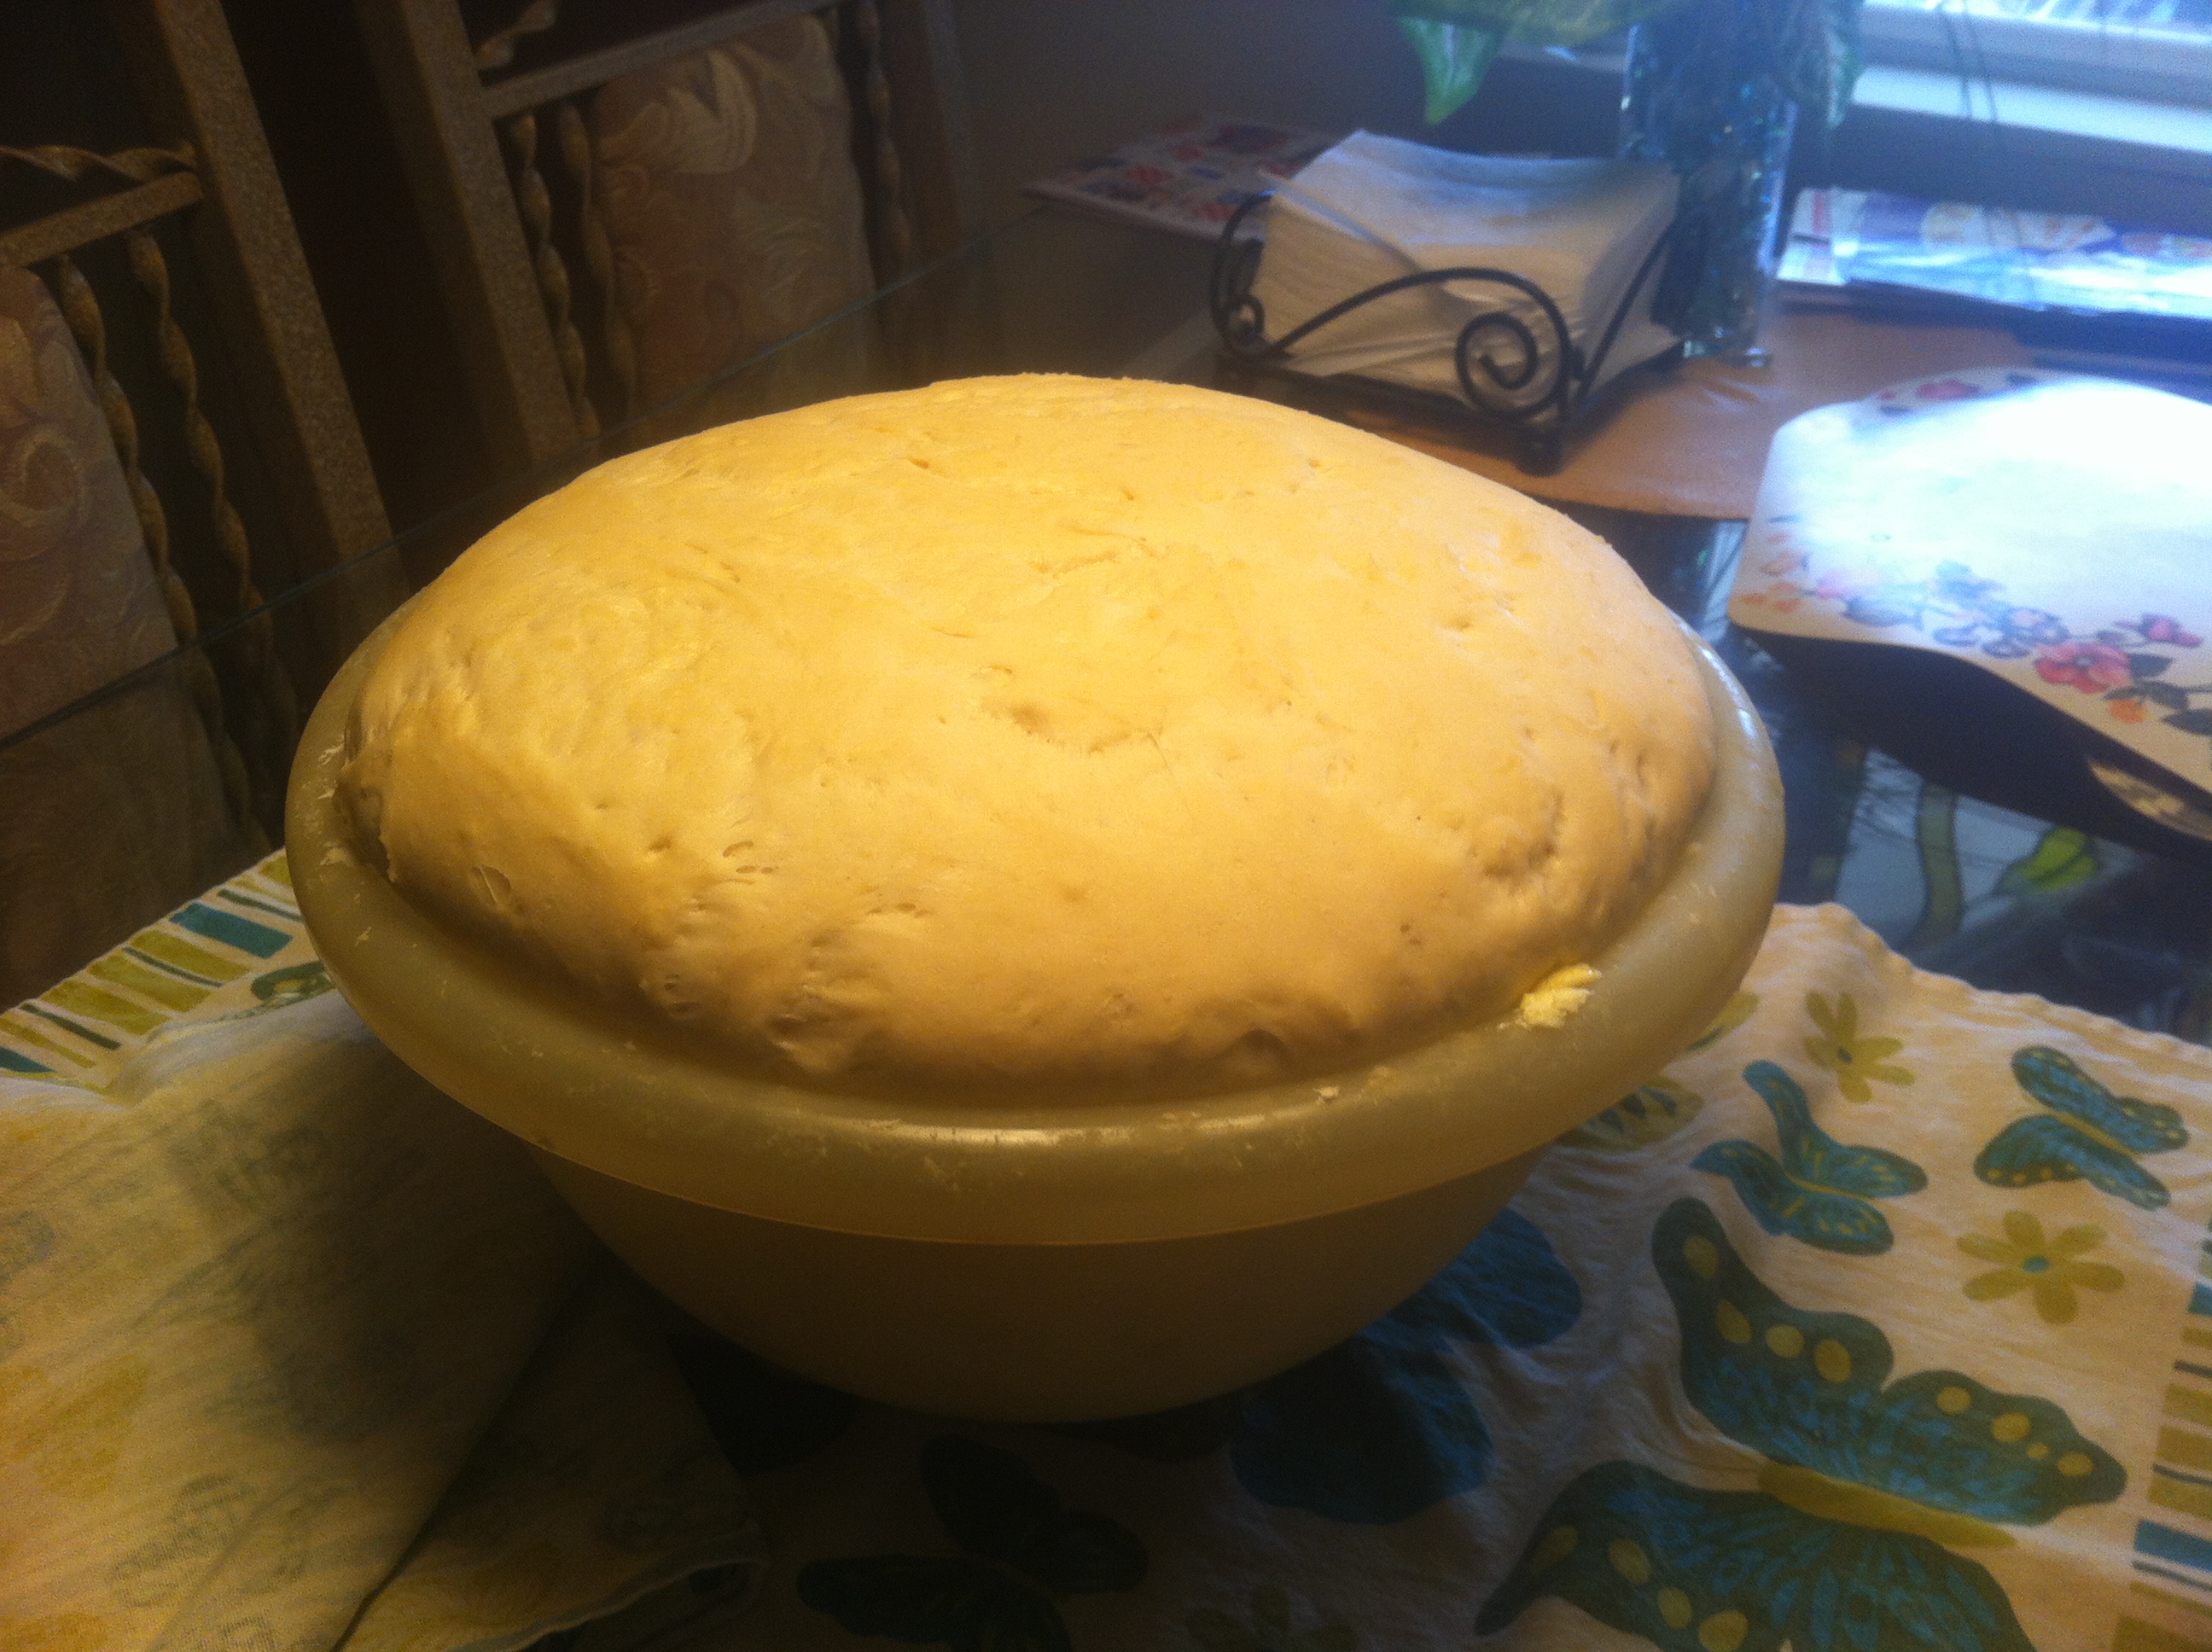
After about an hour and a half your dough should have risen considerably and look a bit like this and it is time for the next step….
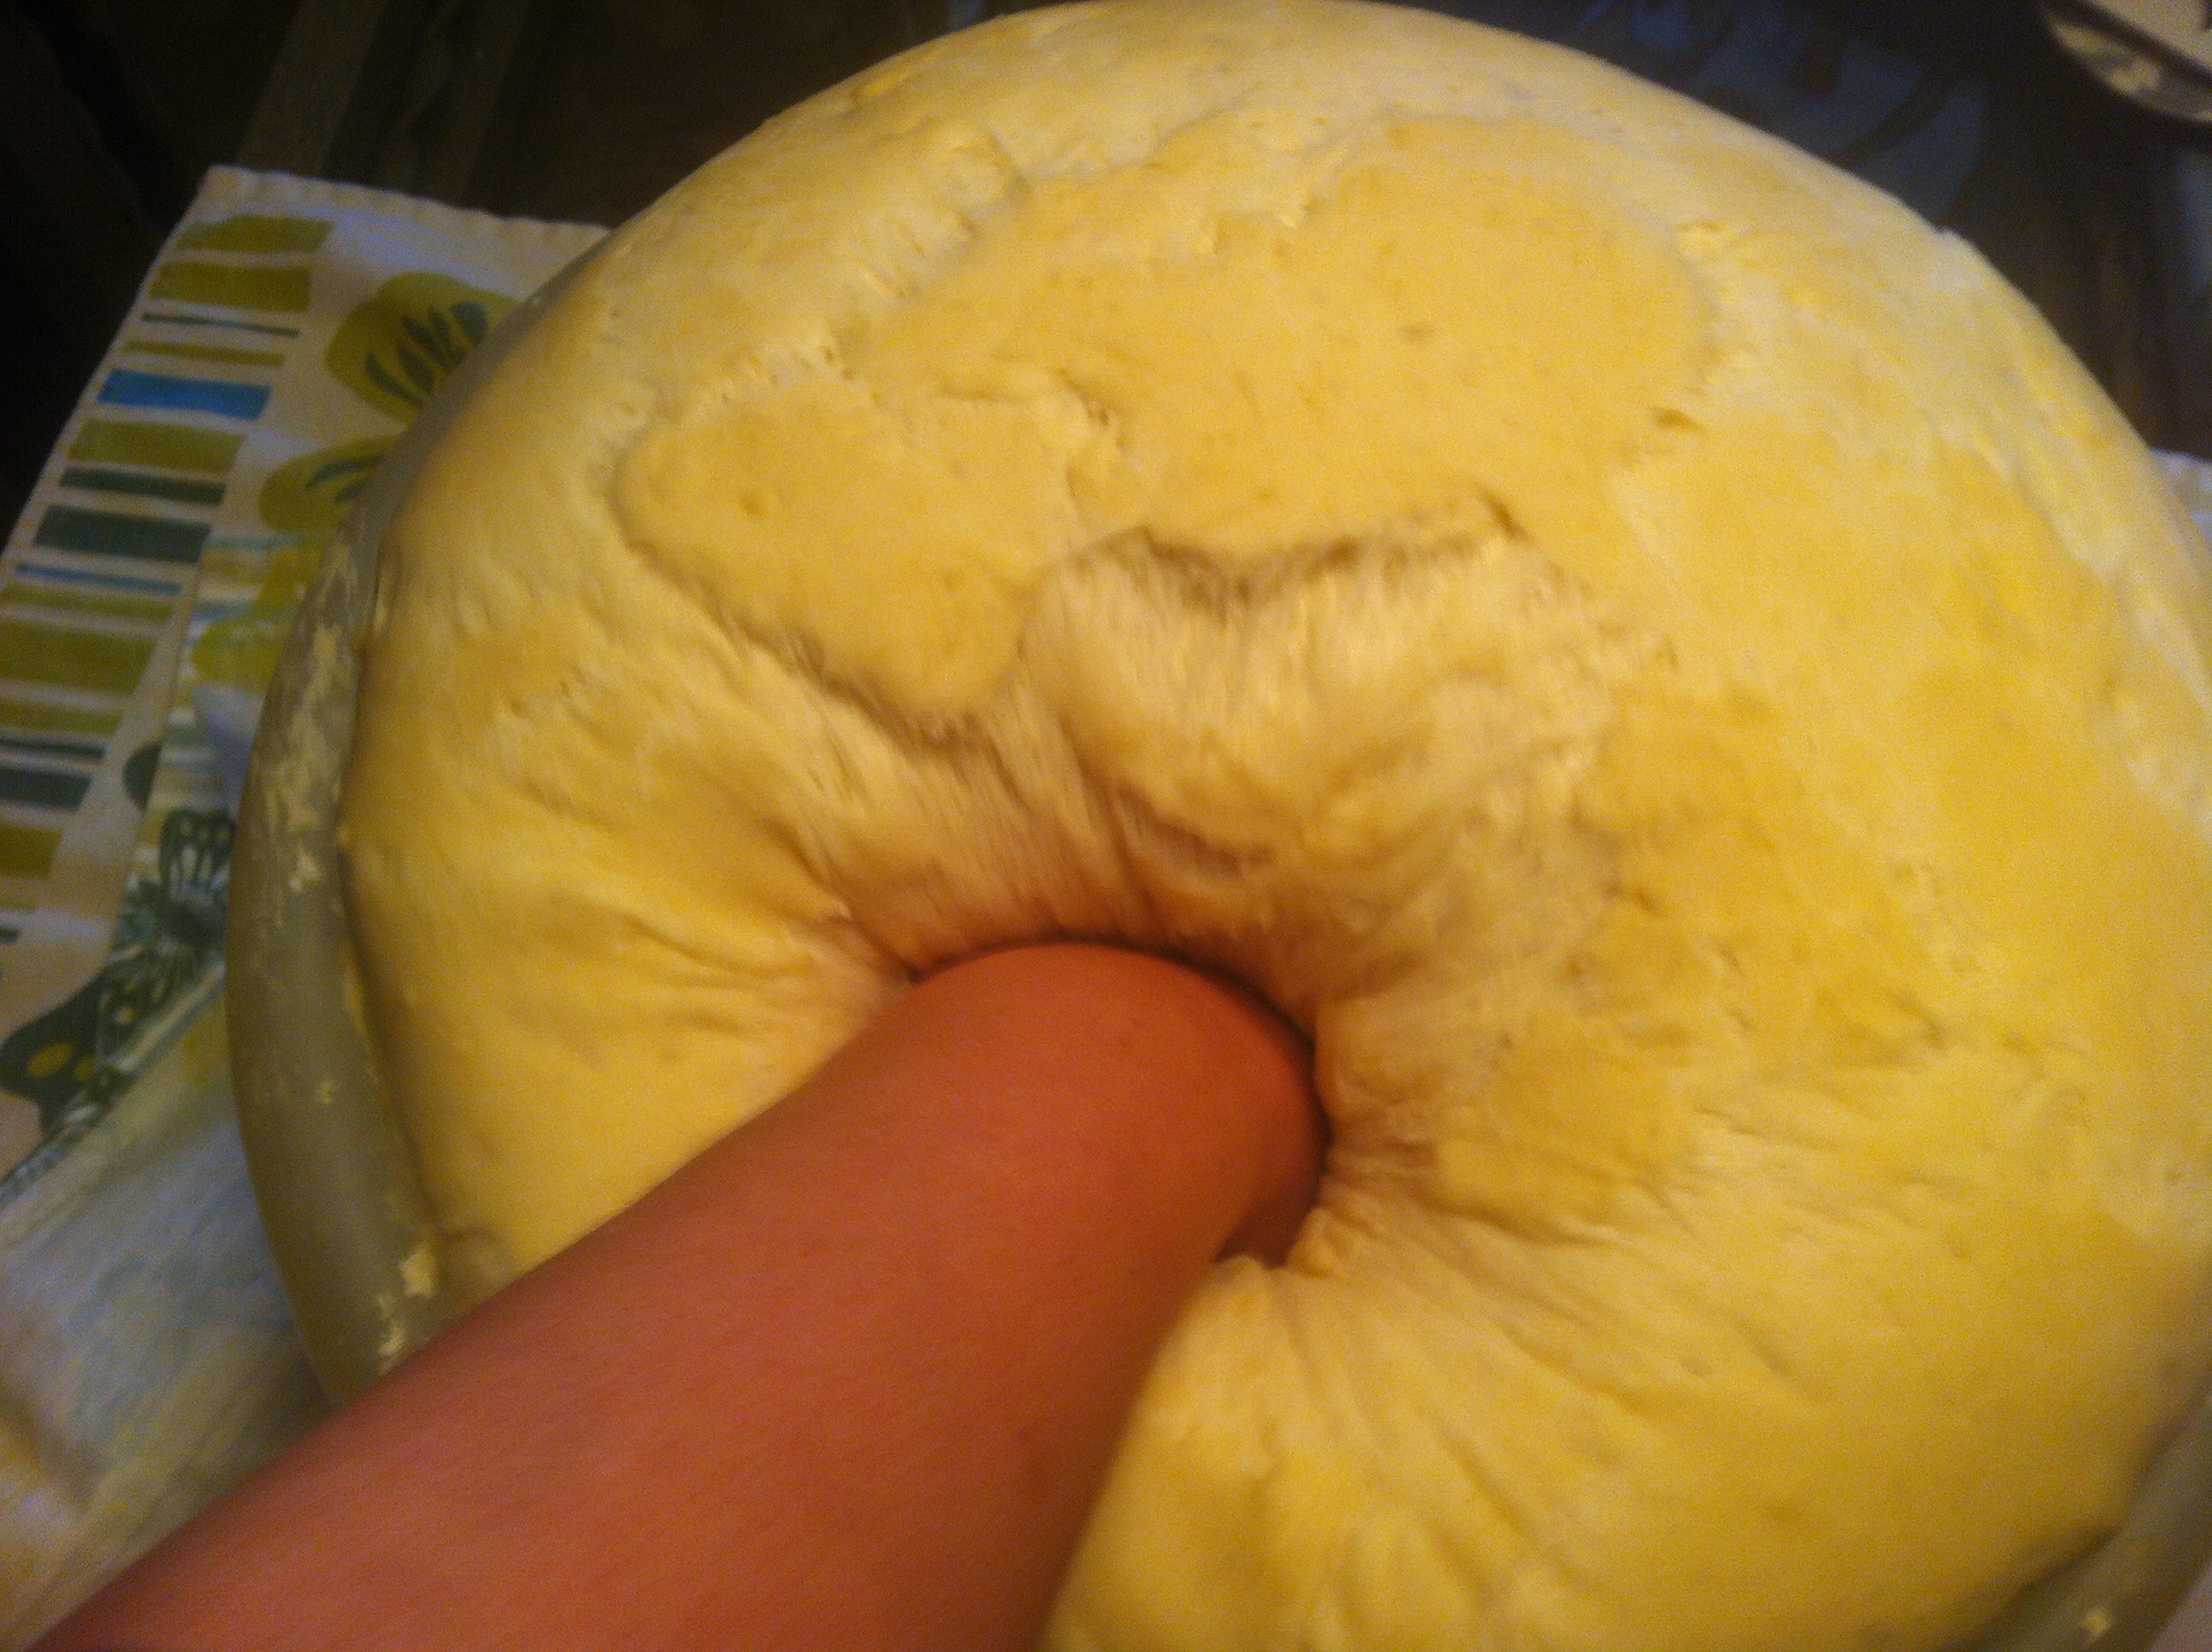
PUNCH IT!
Make a fist and punch the dough down to get the air out…

Do not squeeze, knead or mix it…literally PUNCH it down like this…
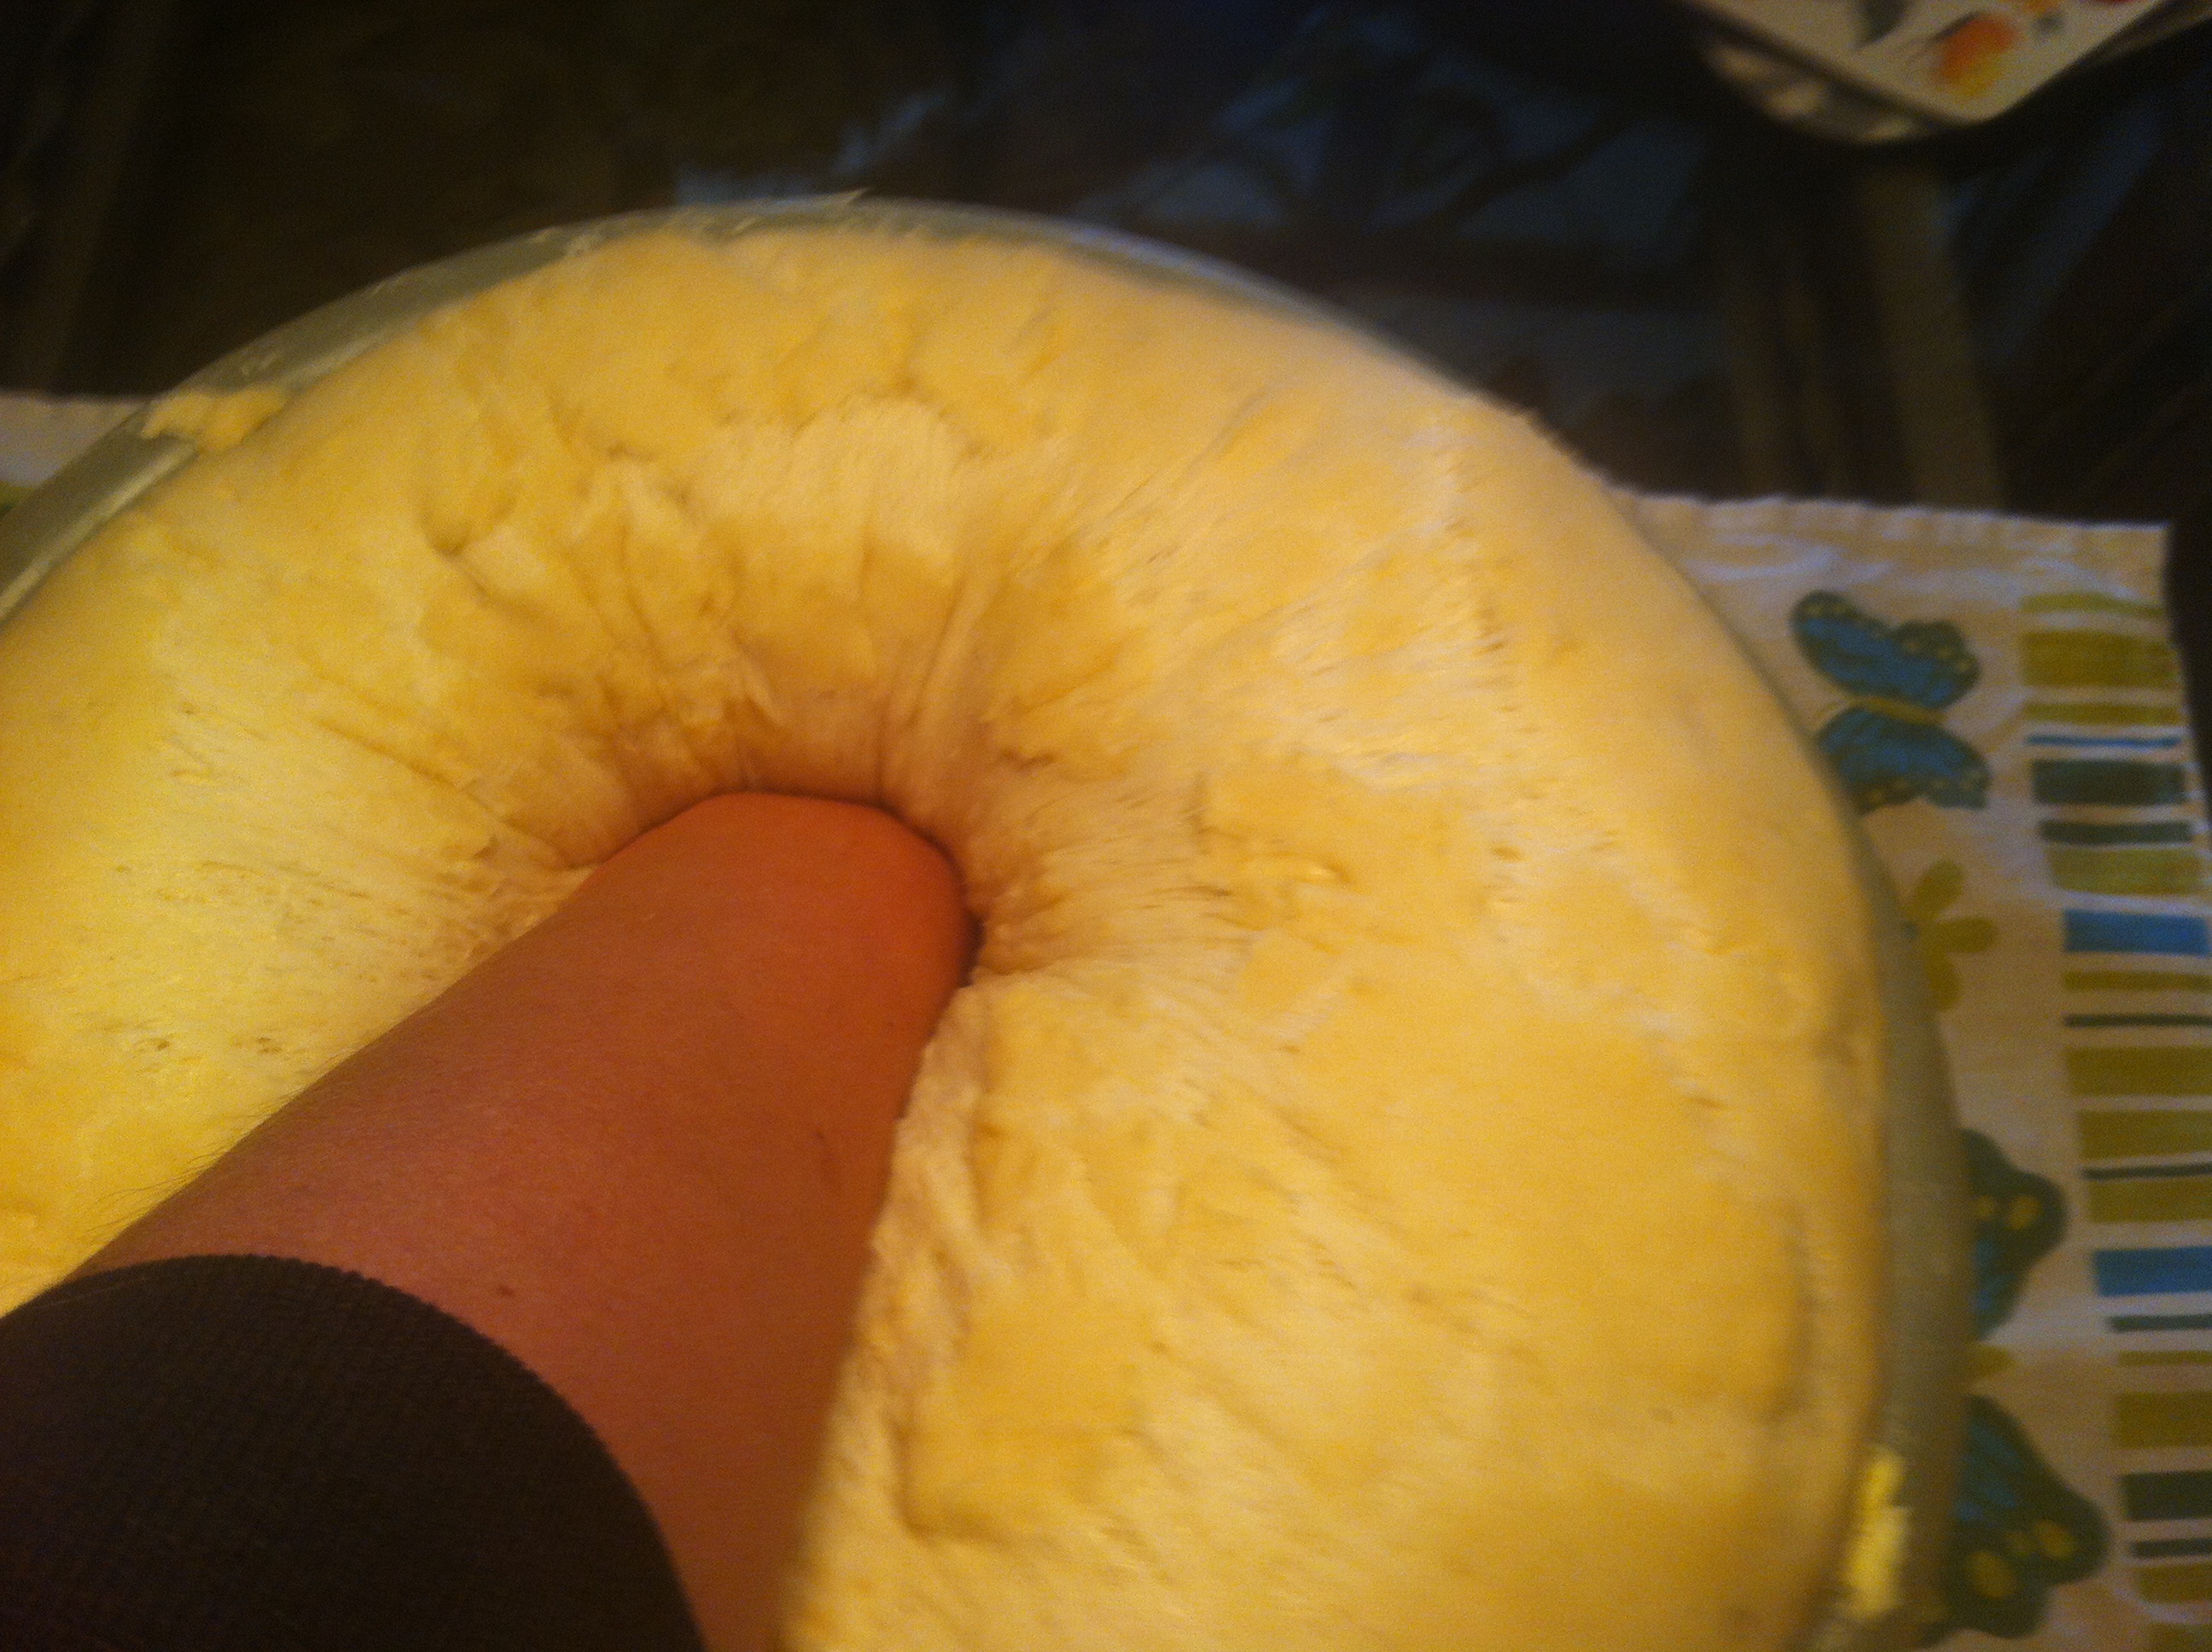

LET IT RISE Part 2
After you punch it down (notice how low in the bowl it is again?), flip the dough over, spread more butter or margarine over the top and cover it back up to let it rise AGAIN…

You don’t need a lot…and whatever is left on your hands you can use to “butter” your bread pans (feel free to spray your pans with Pam or something else instead)…


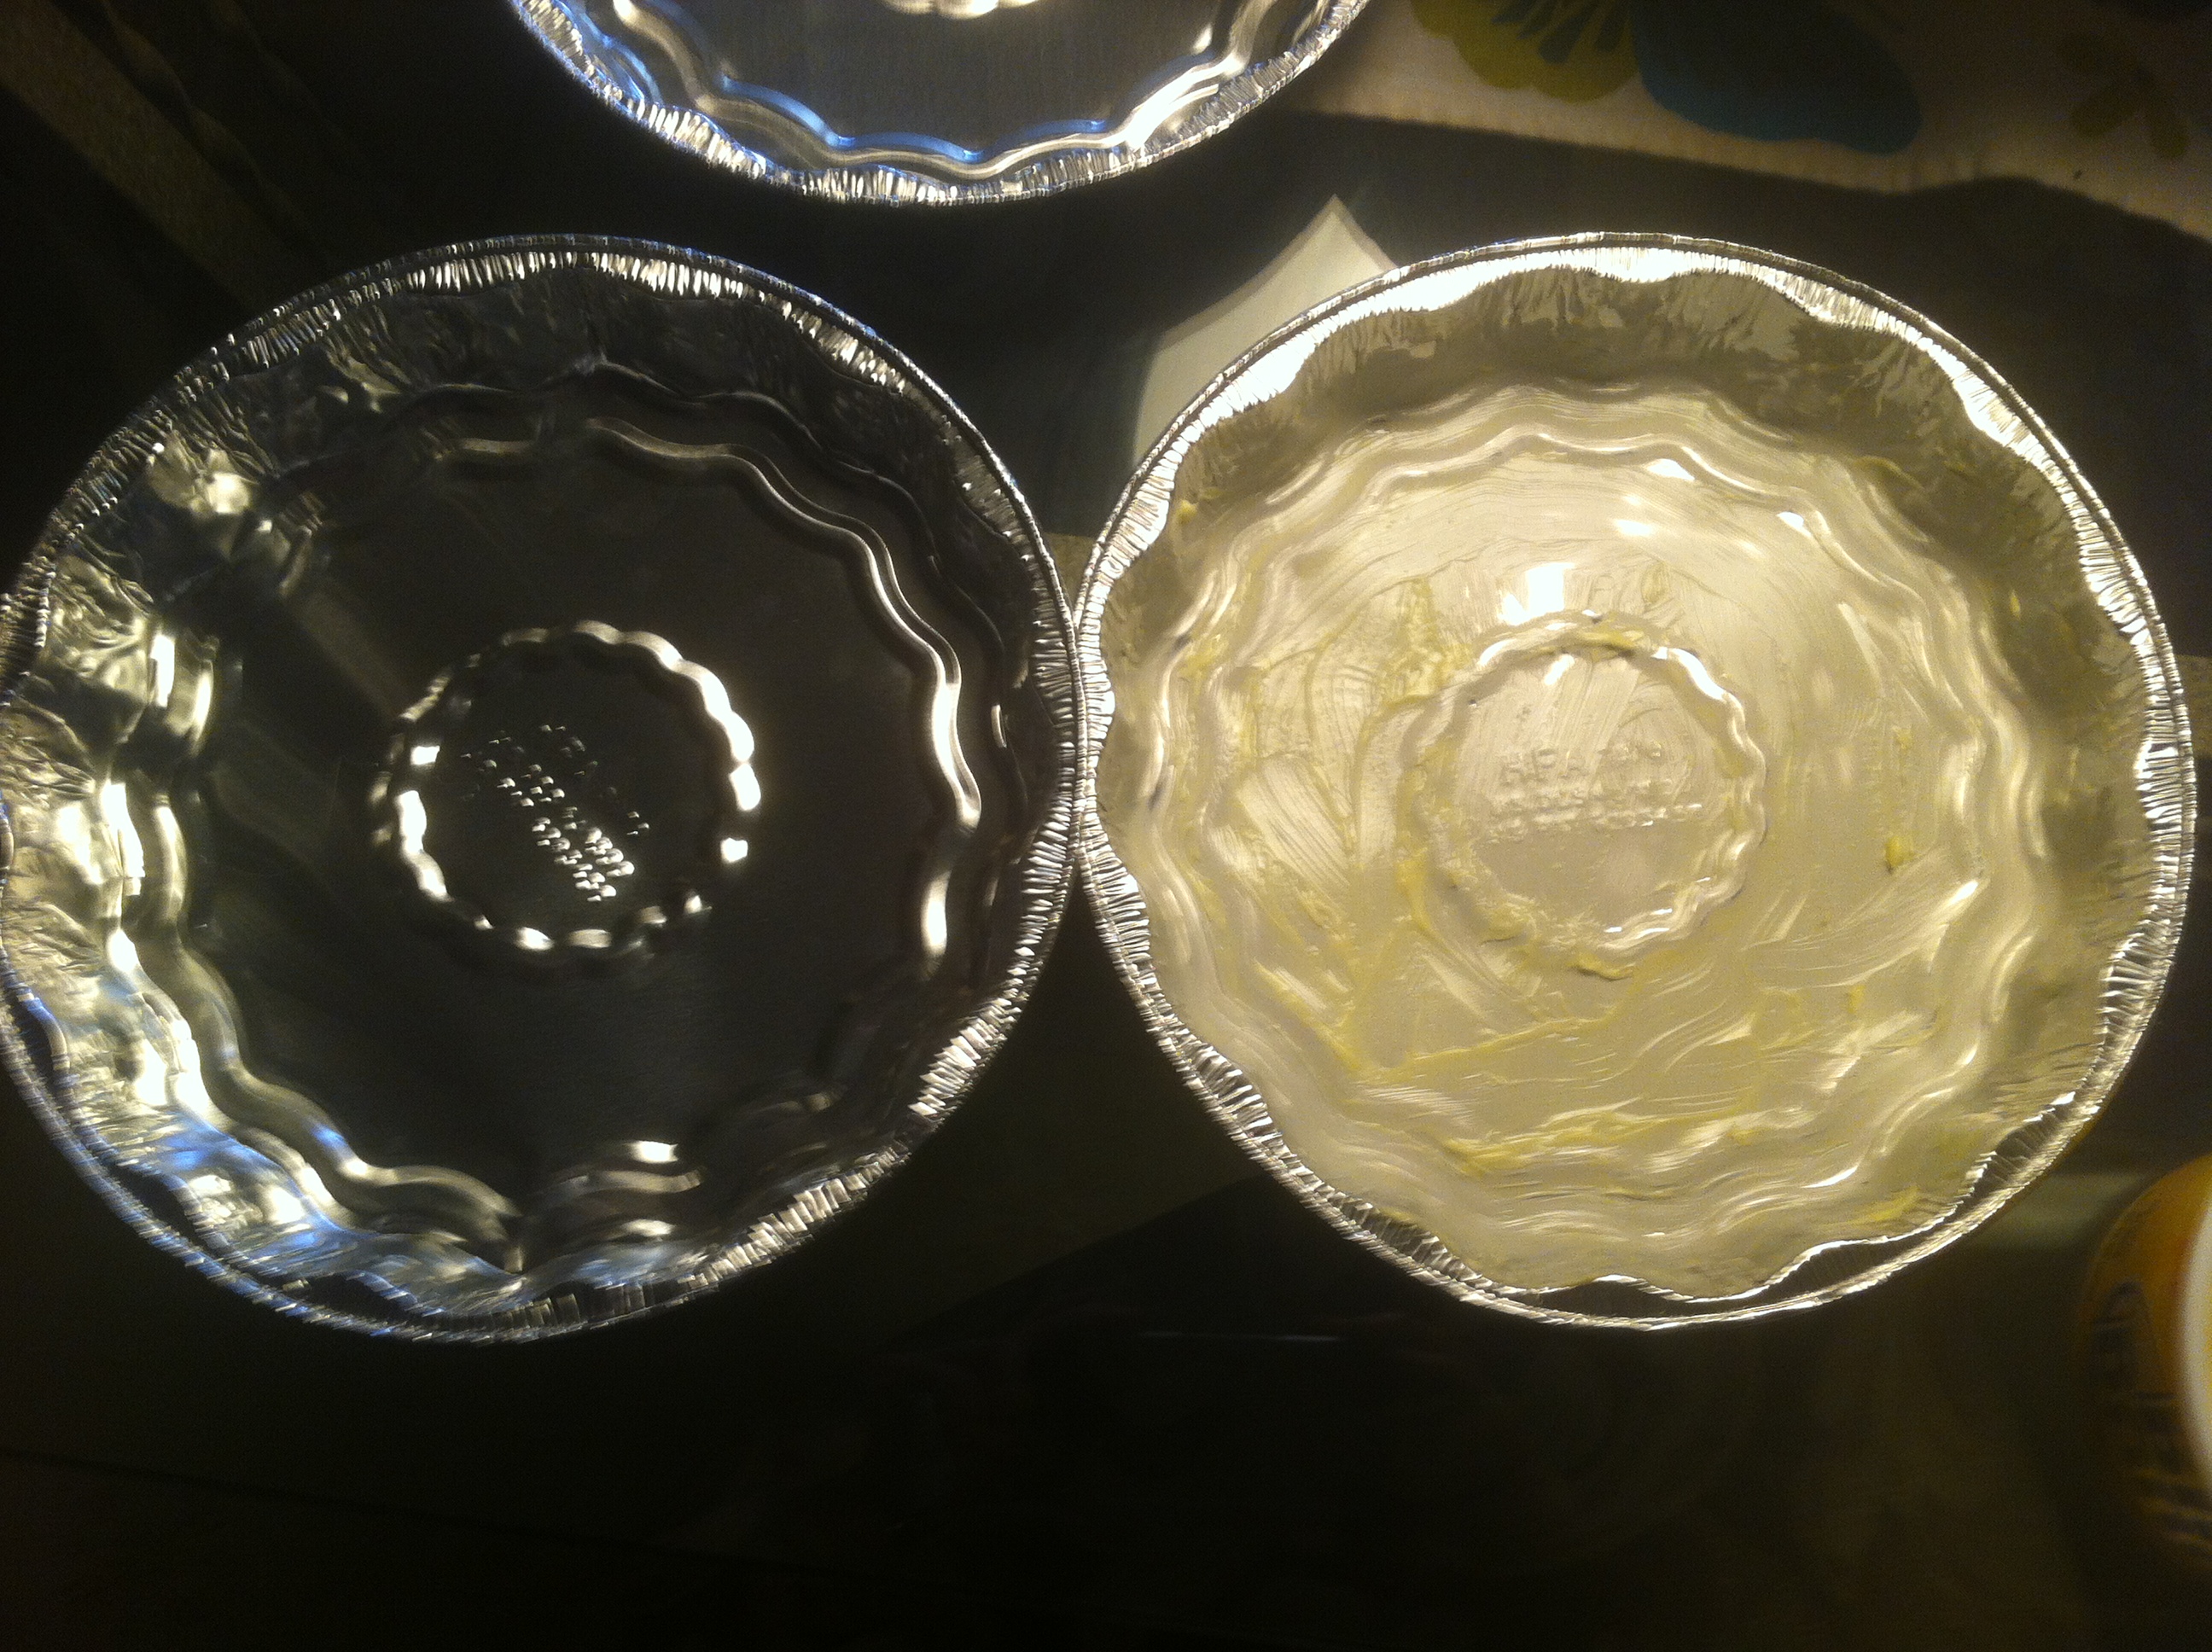
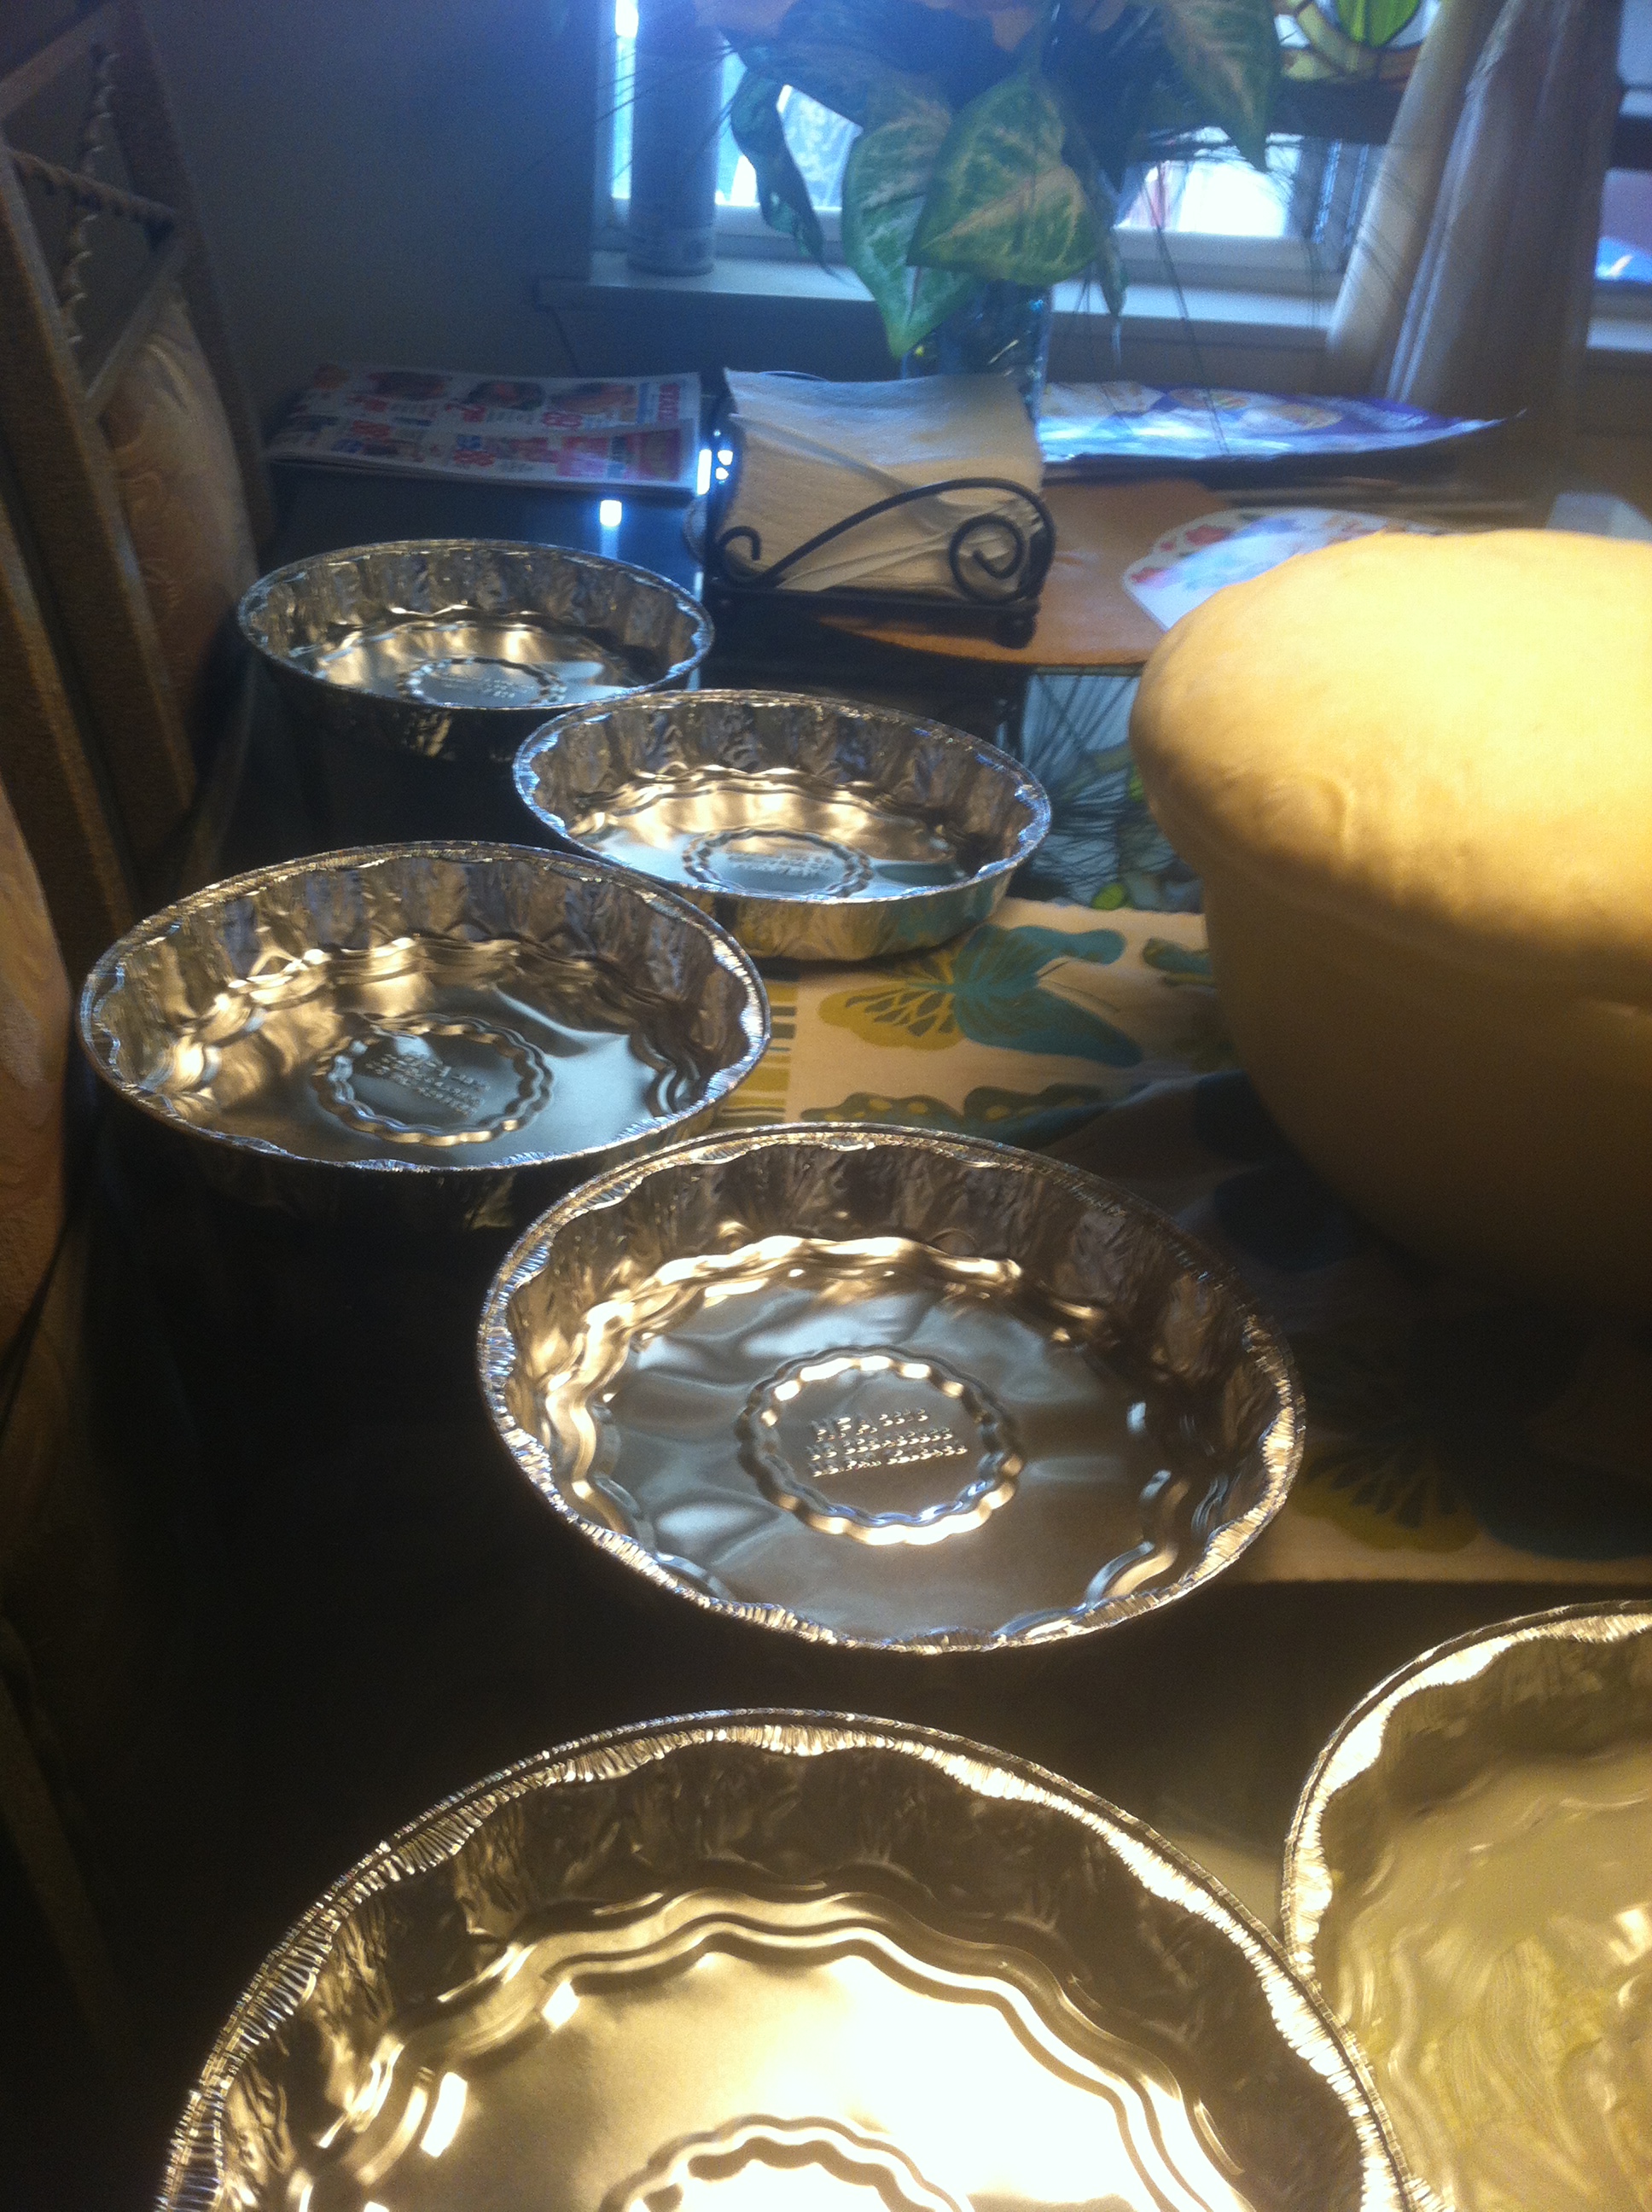
PANNING
After your dough has risen a SECOND time (approximately one and a half hours) it will be time to “pan” your bread in the pans you should have already prepped. For this size batch I use six round store-bought tin pans (they come with plastic lids, but you won’t be able to use them once the bread bakes because it is going to grow much larger over the edge in the oven)…you can however, save the lids for when you reuse the pans for something else later…
The dough should be huge now.
As an aside, I have a hilarious “I Love Lucy” episode’ish story about some hot dough on a cold winter day, but THAT story is worth it’s very own post!
Isn’t it pretty?
DO NOT start sticking your hands all up in the dough.
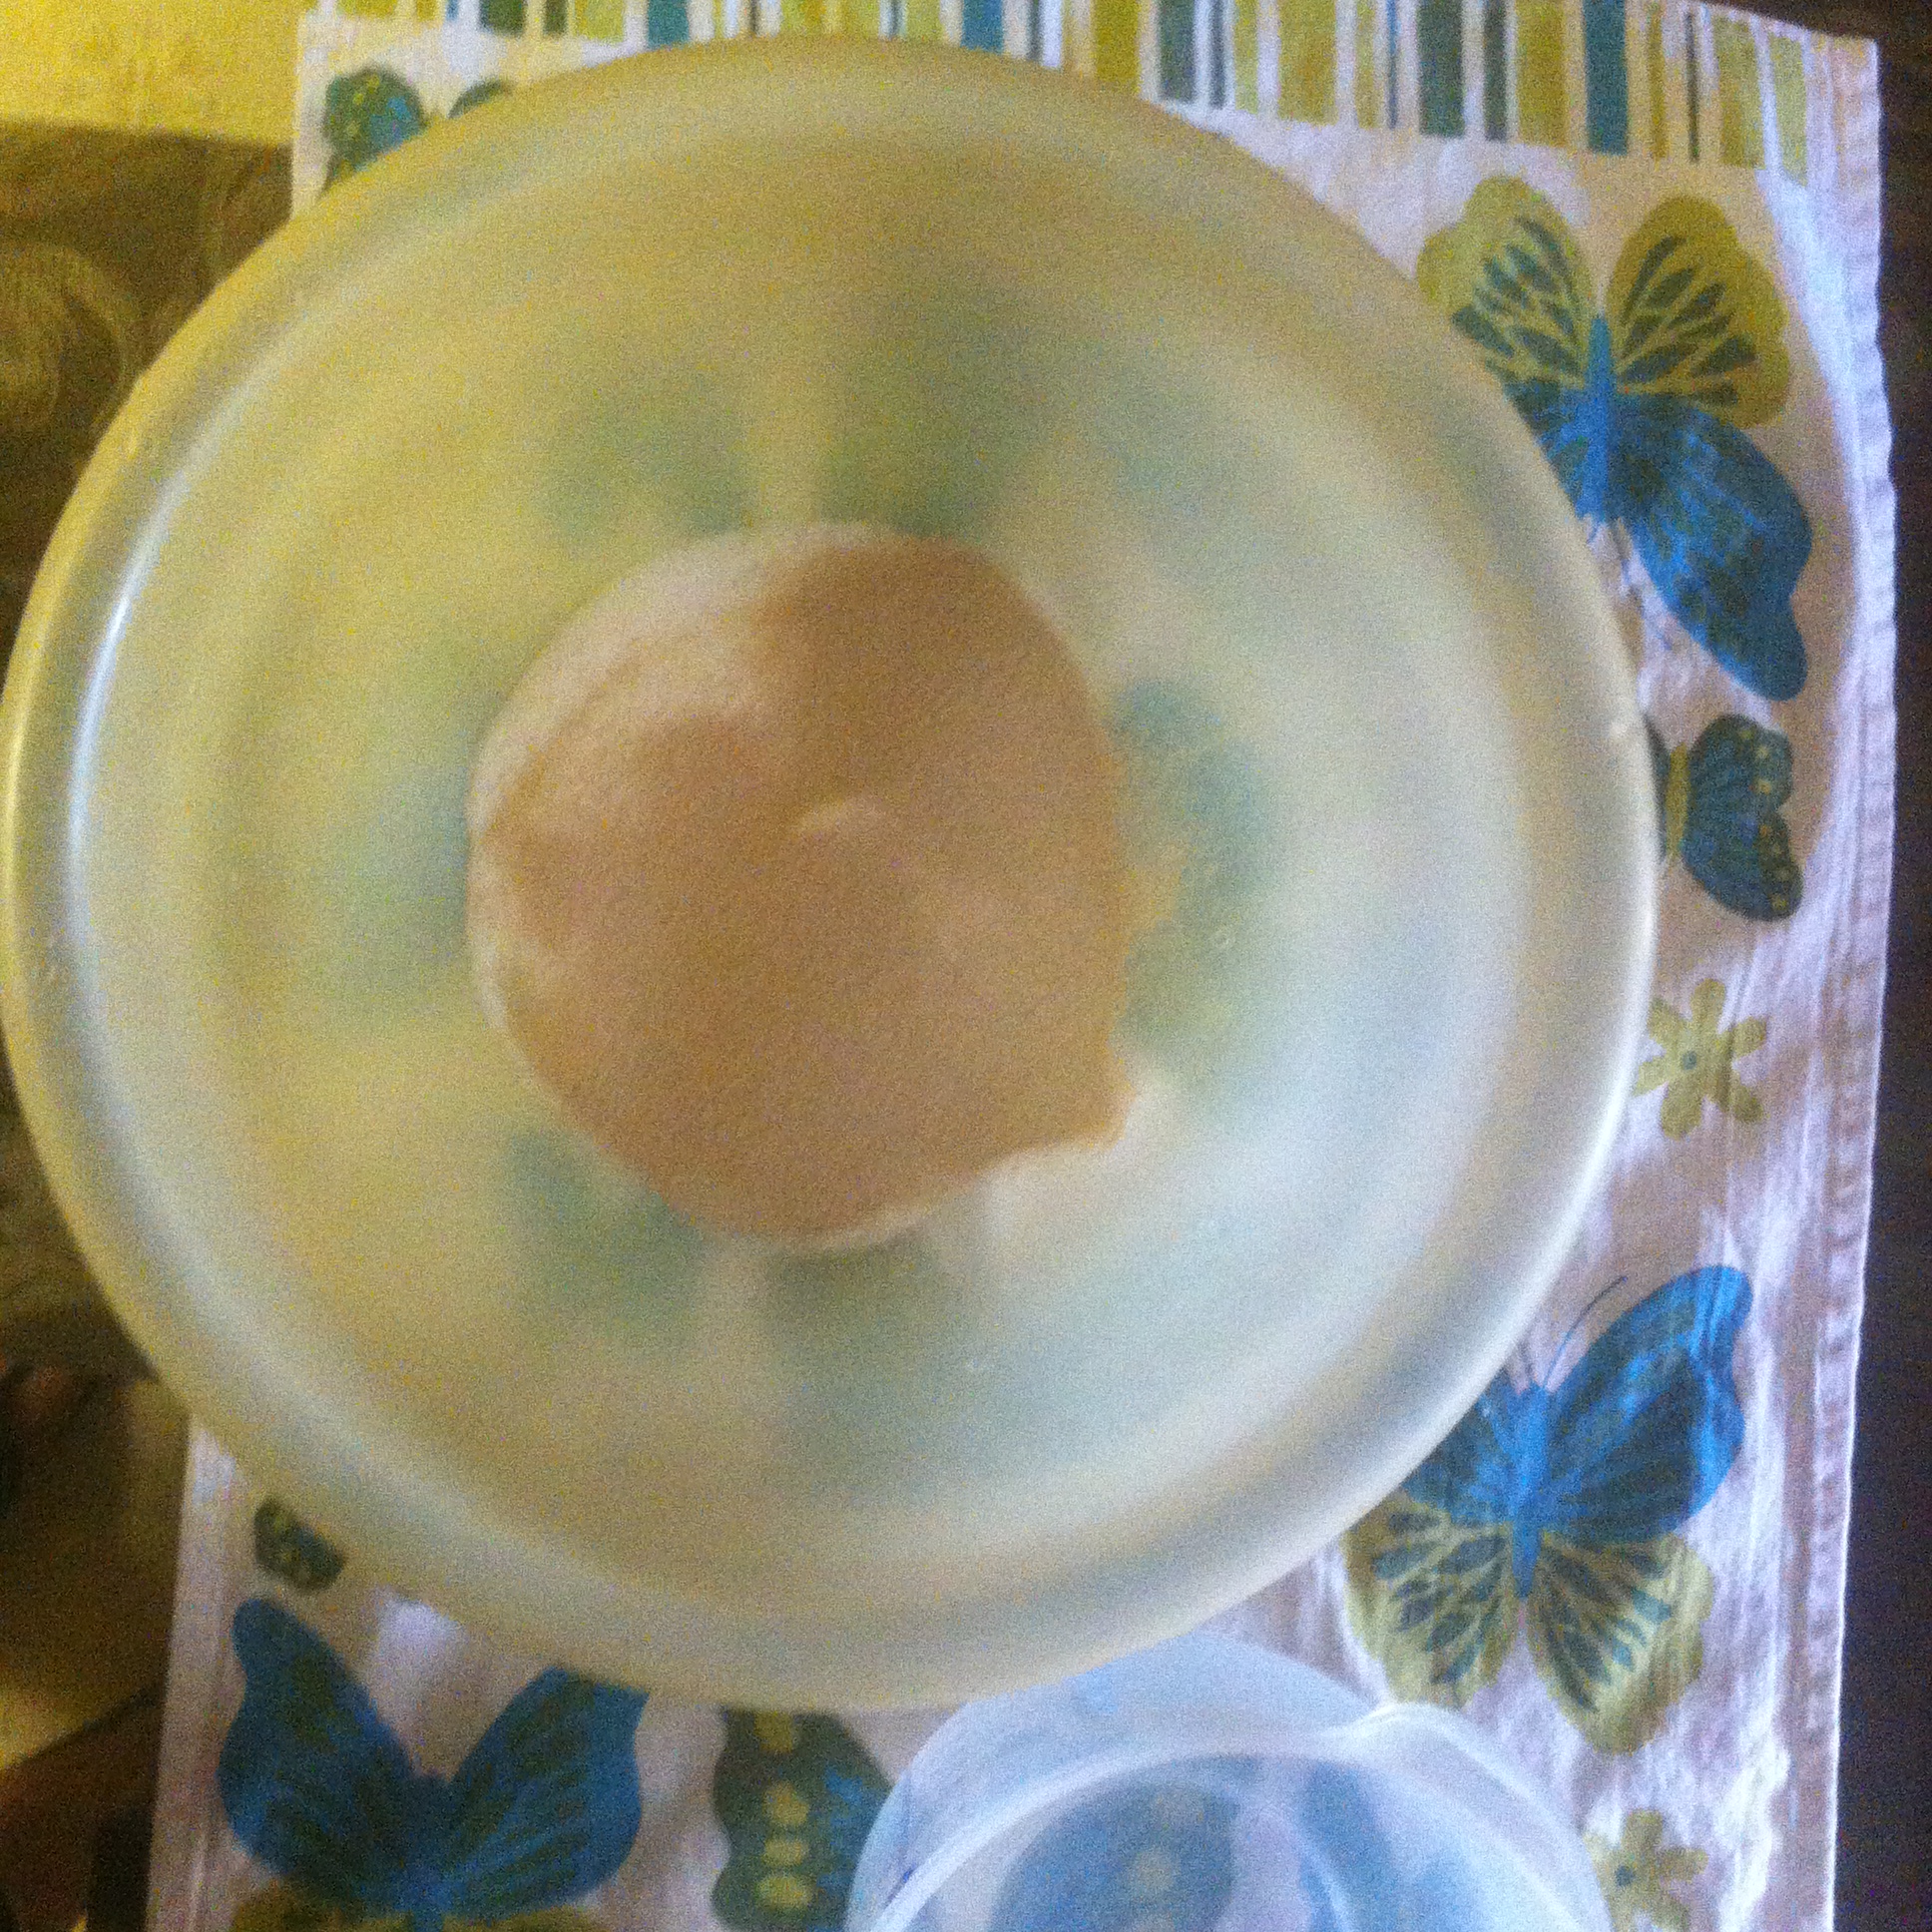
THIS time, you want to touch only what you are breaking off. In this case, about a”plumb” size ball.
Mine here were a tad too big — I got excited! What can I say?

Tuck the pinched part in at the bottom and slightly (without applying pressure) form the dough into a ball and place in the pans like in the picture below.
Poke each one in the center ONCE with a fork.
You need to work a little fast panning and poking the bread because the dough will continue to rise! Trust me, remember? I have a story…
After they are panned, cover them the same way you covered the dough when it was in the bowl. Paper towels work great for this part.
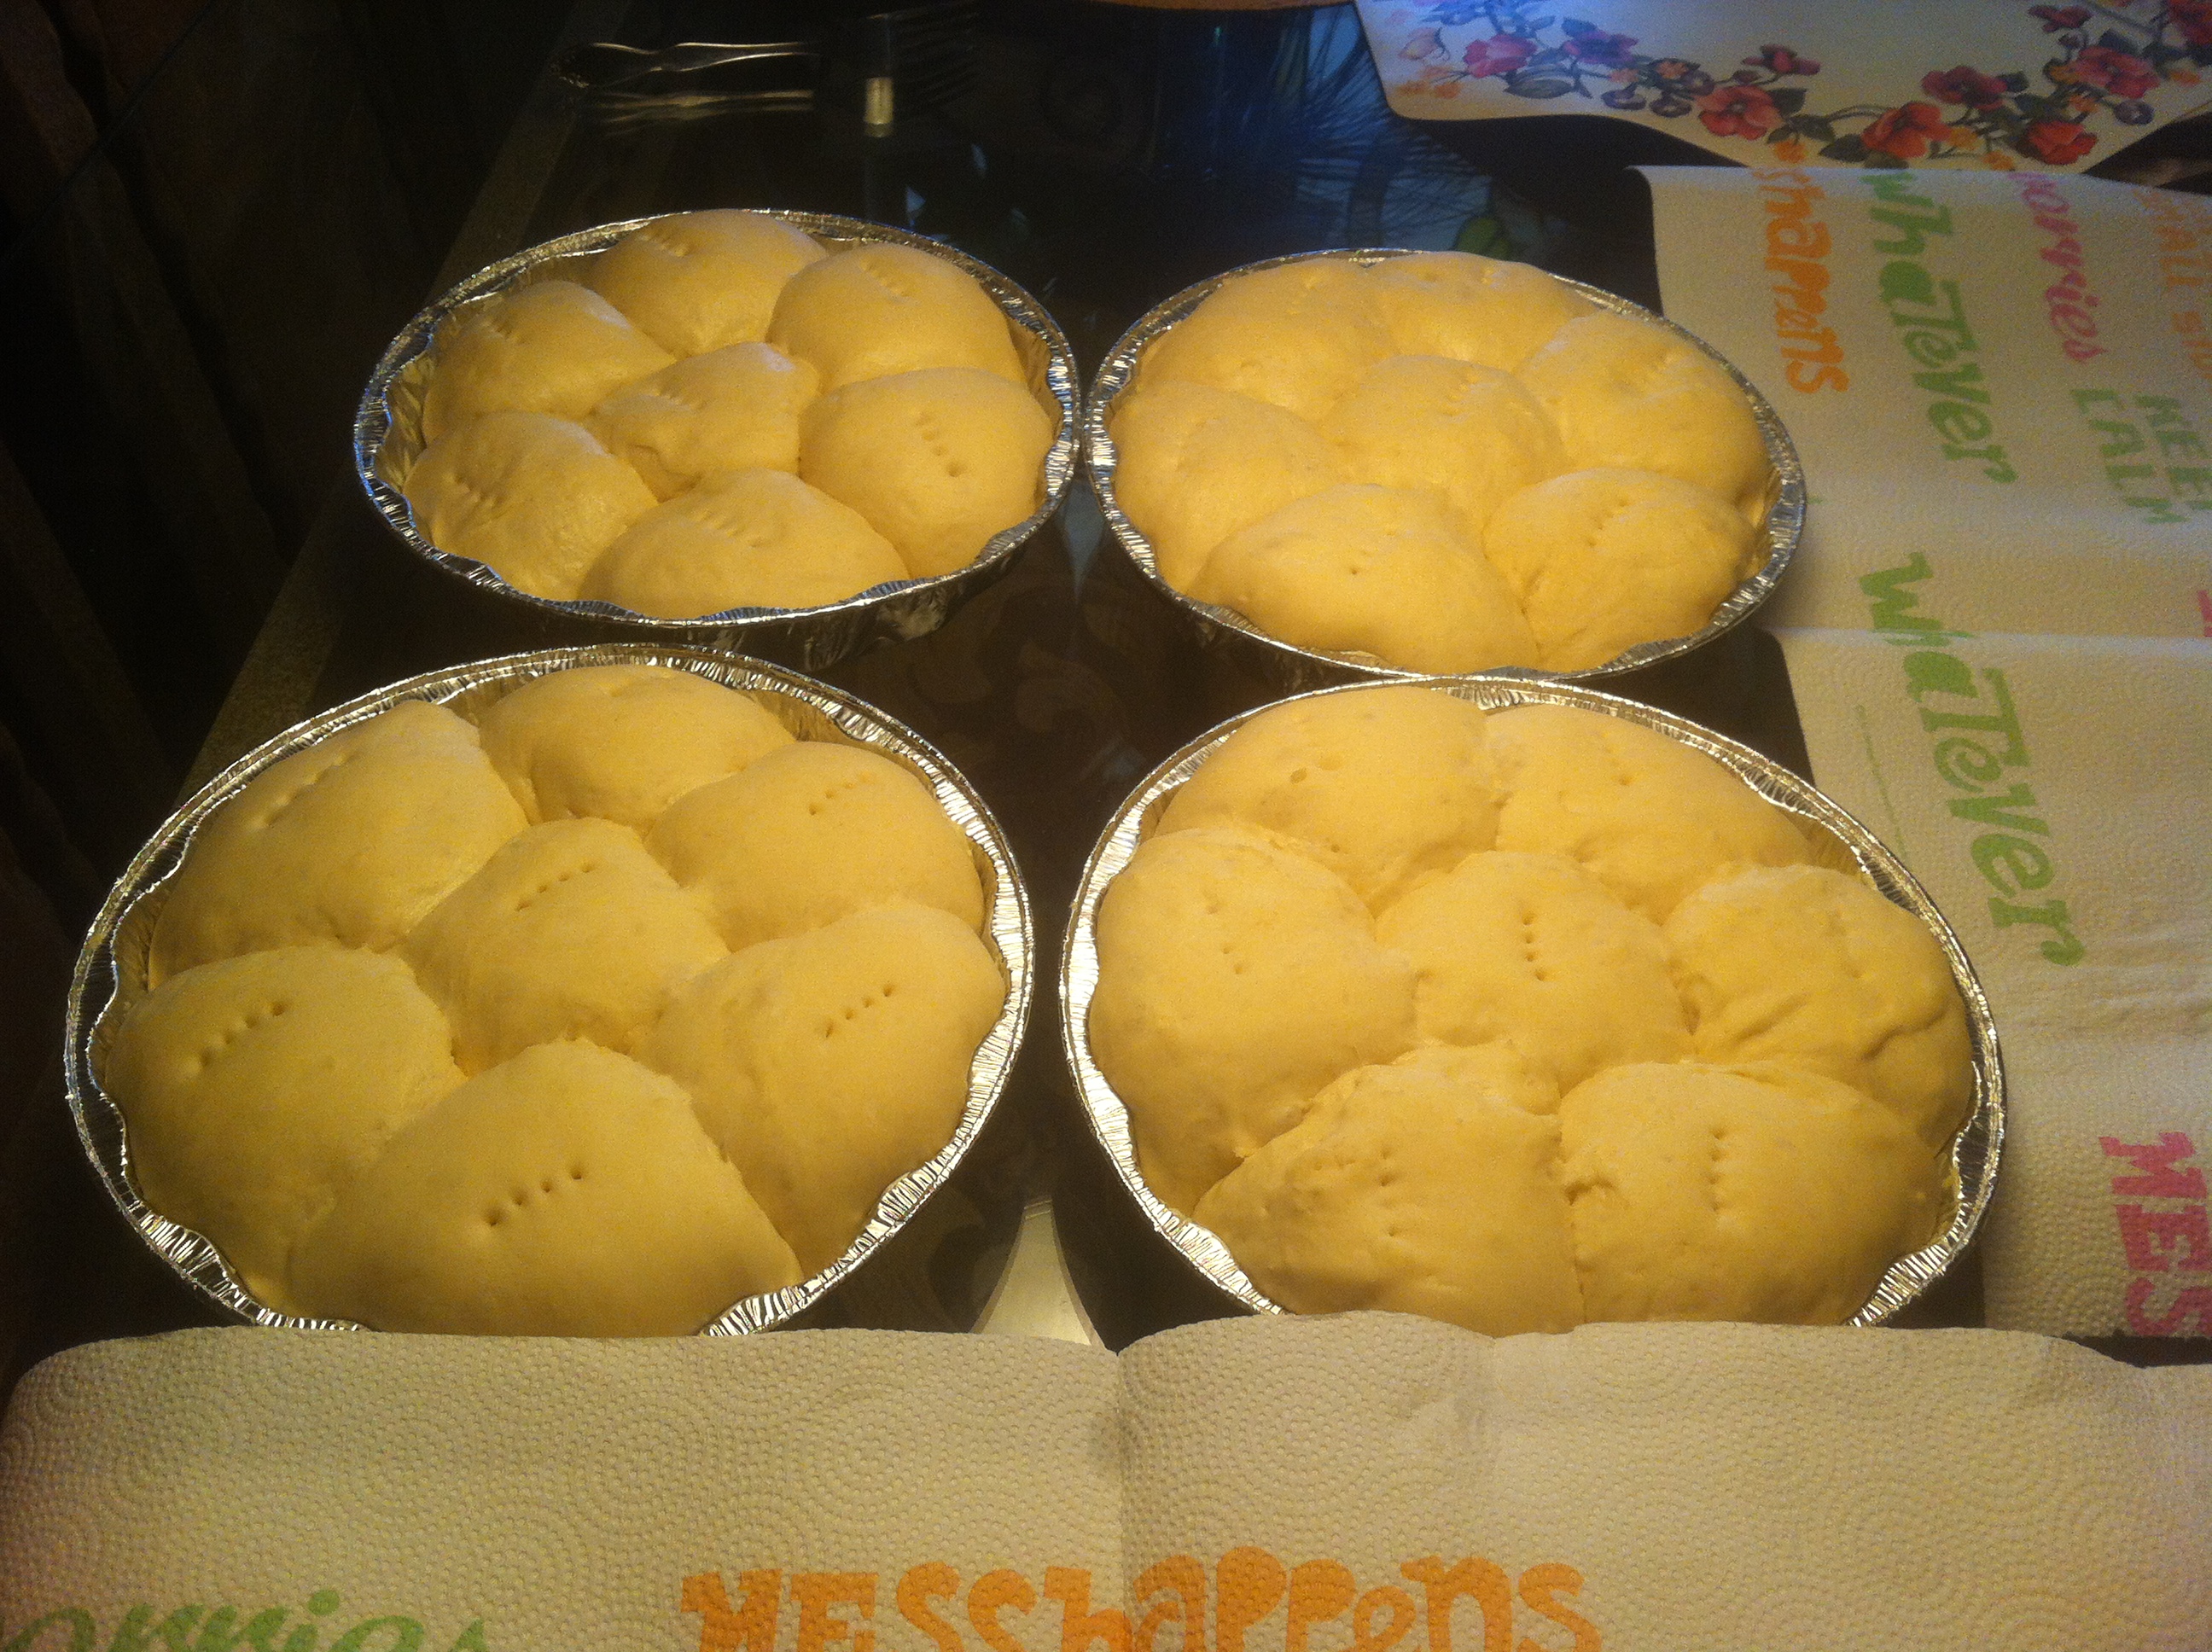
LET IT RISE Part 3
Let the panned dough rise AGAIN…yes, again.
I know, but I did warn you in advance this was an all day affair!

This time you will only let it rise for about an hour and now is probably a good time to think about preheating your oven…
WHAT ARE YOU WAITING FOR? BAKE THAT BREAD!
After an hour (or so, depending on how warm the room is) the rolls will be cresting the pan (they should be very puffy) like this…
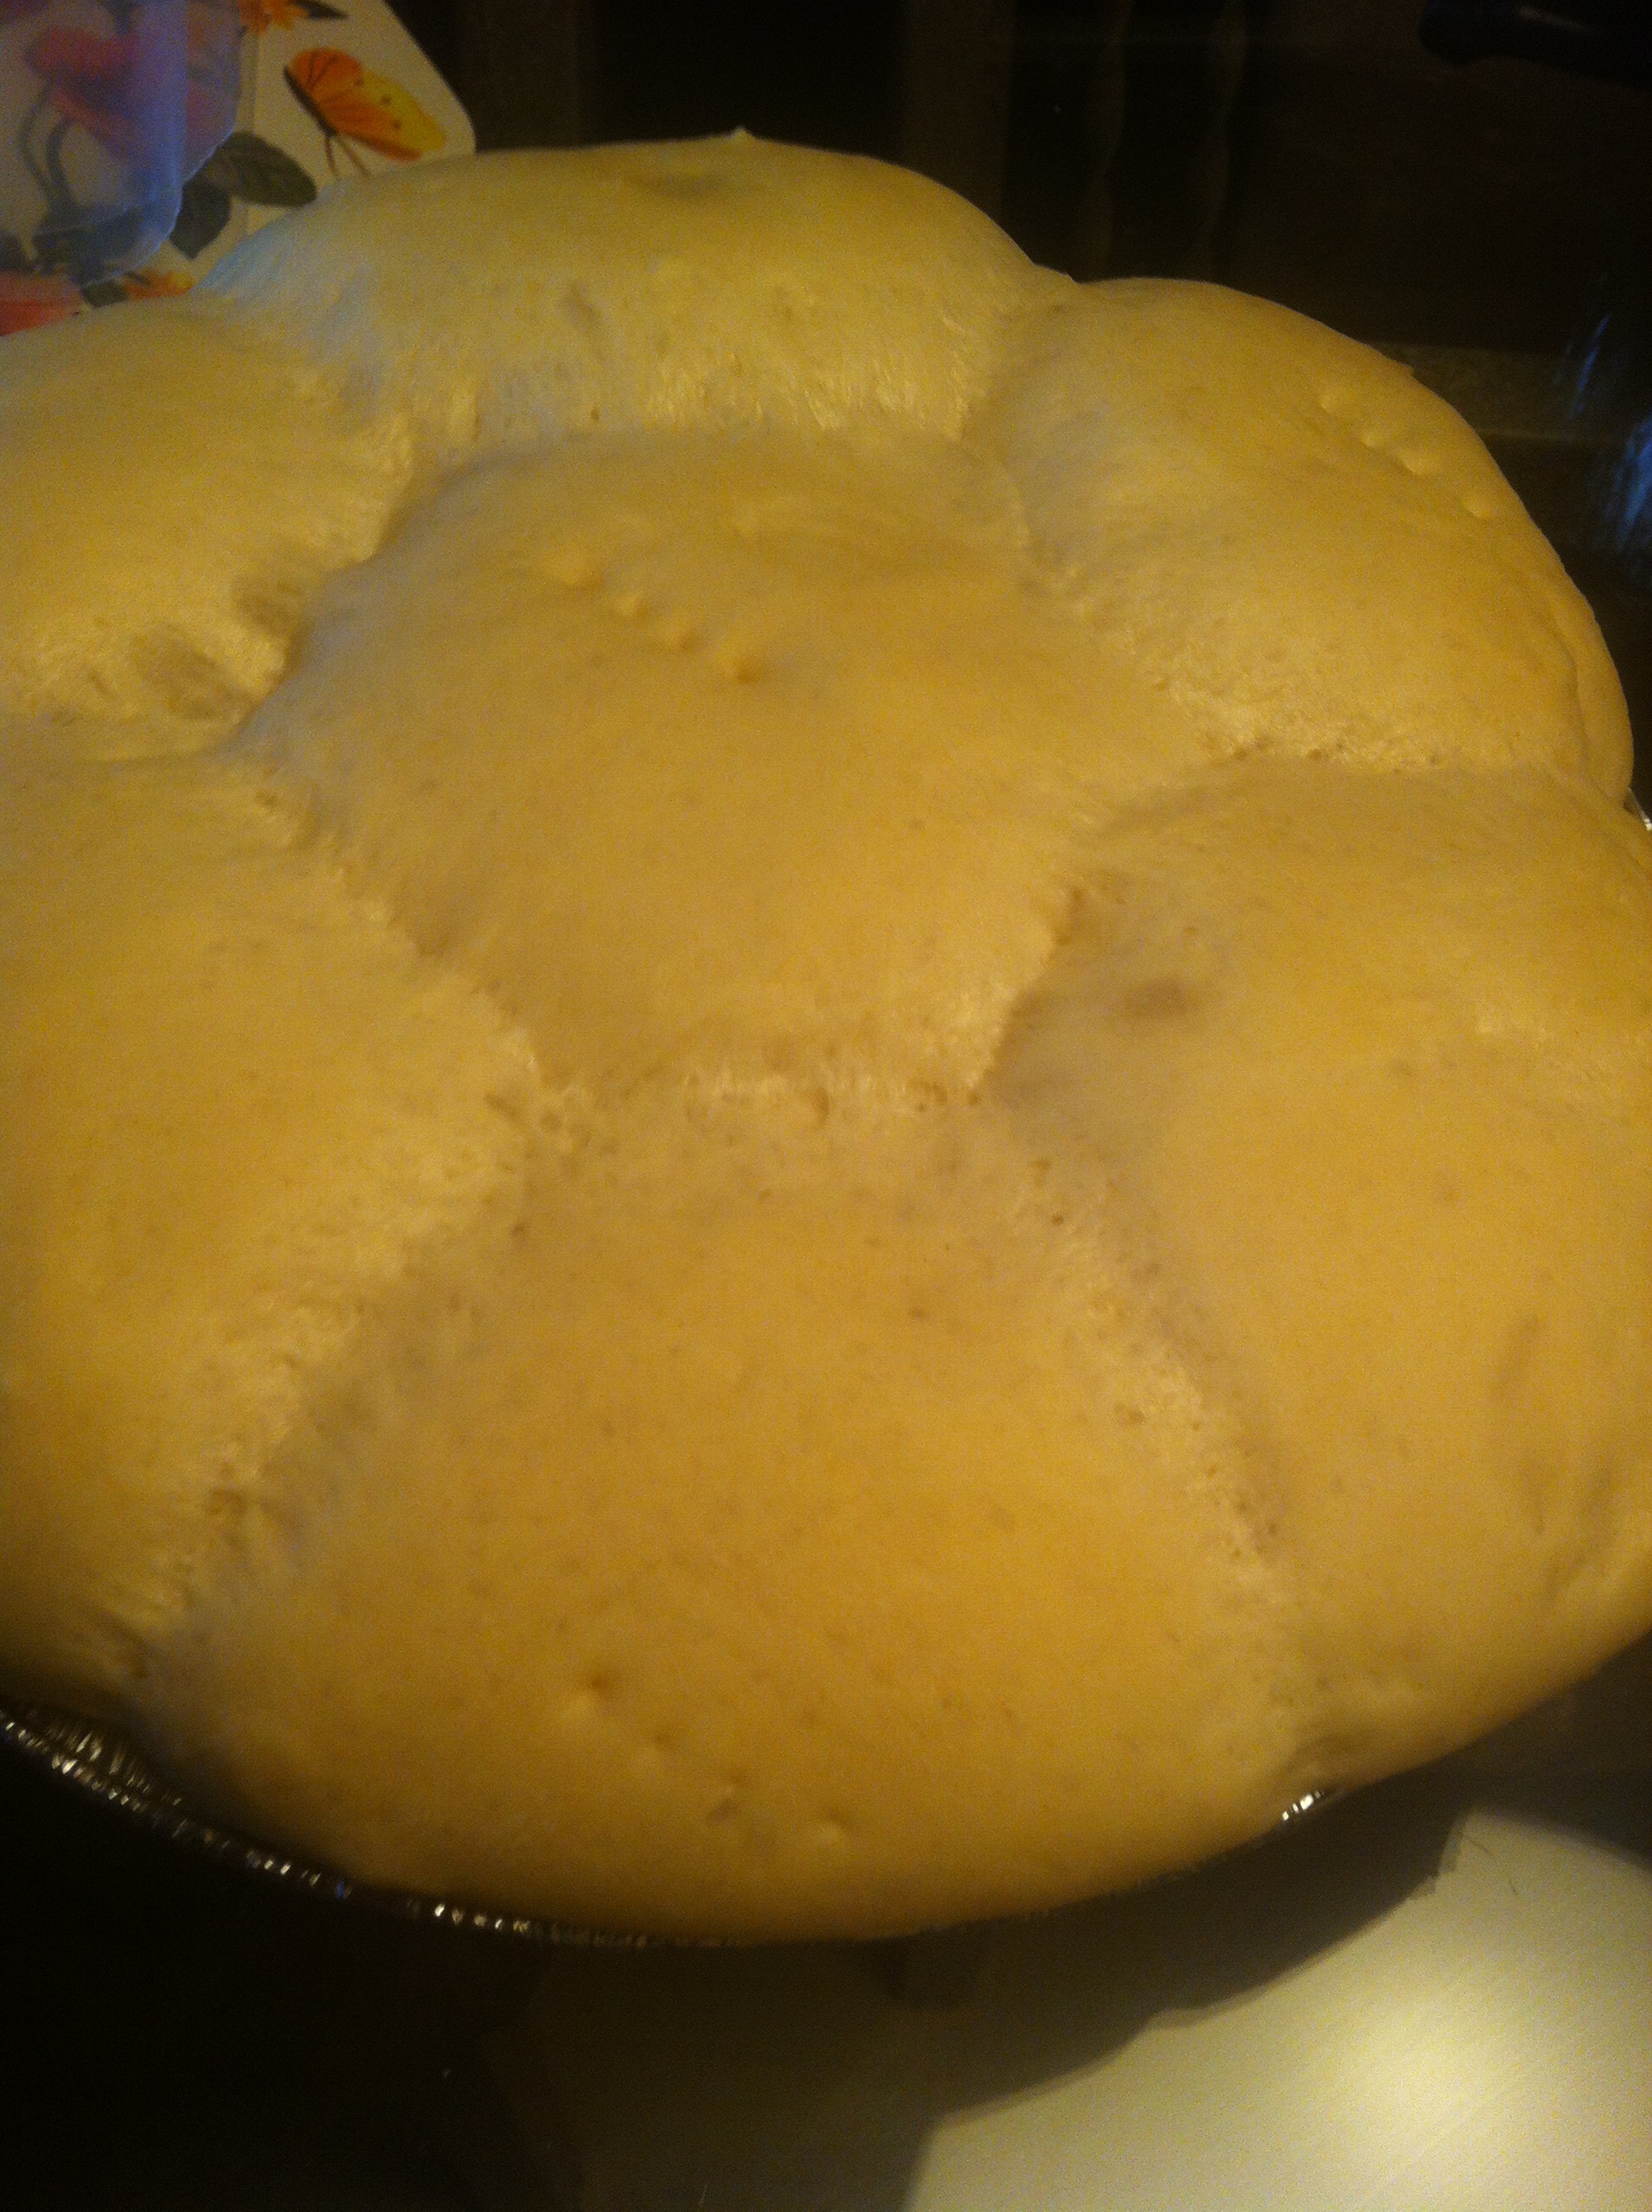
You can bake two of these round pans at a time for about 30-35 minutes at 350 (375 for higher altitudes like mine). They should get golden brown on top…

When you pull the first batch out of the oven, tip the bread out (upside down) onto your towels so they can cool without “sweating” in the pan…

Let it cool like this for about 20 minutes then flip them back over.
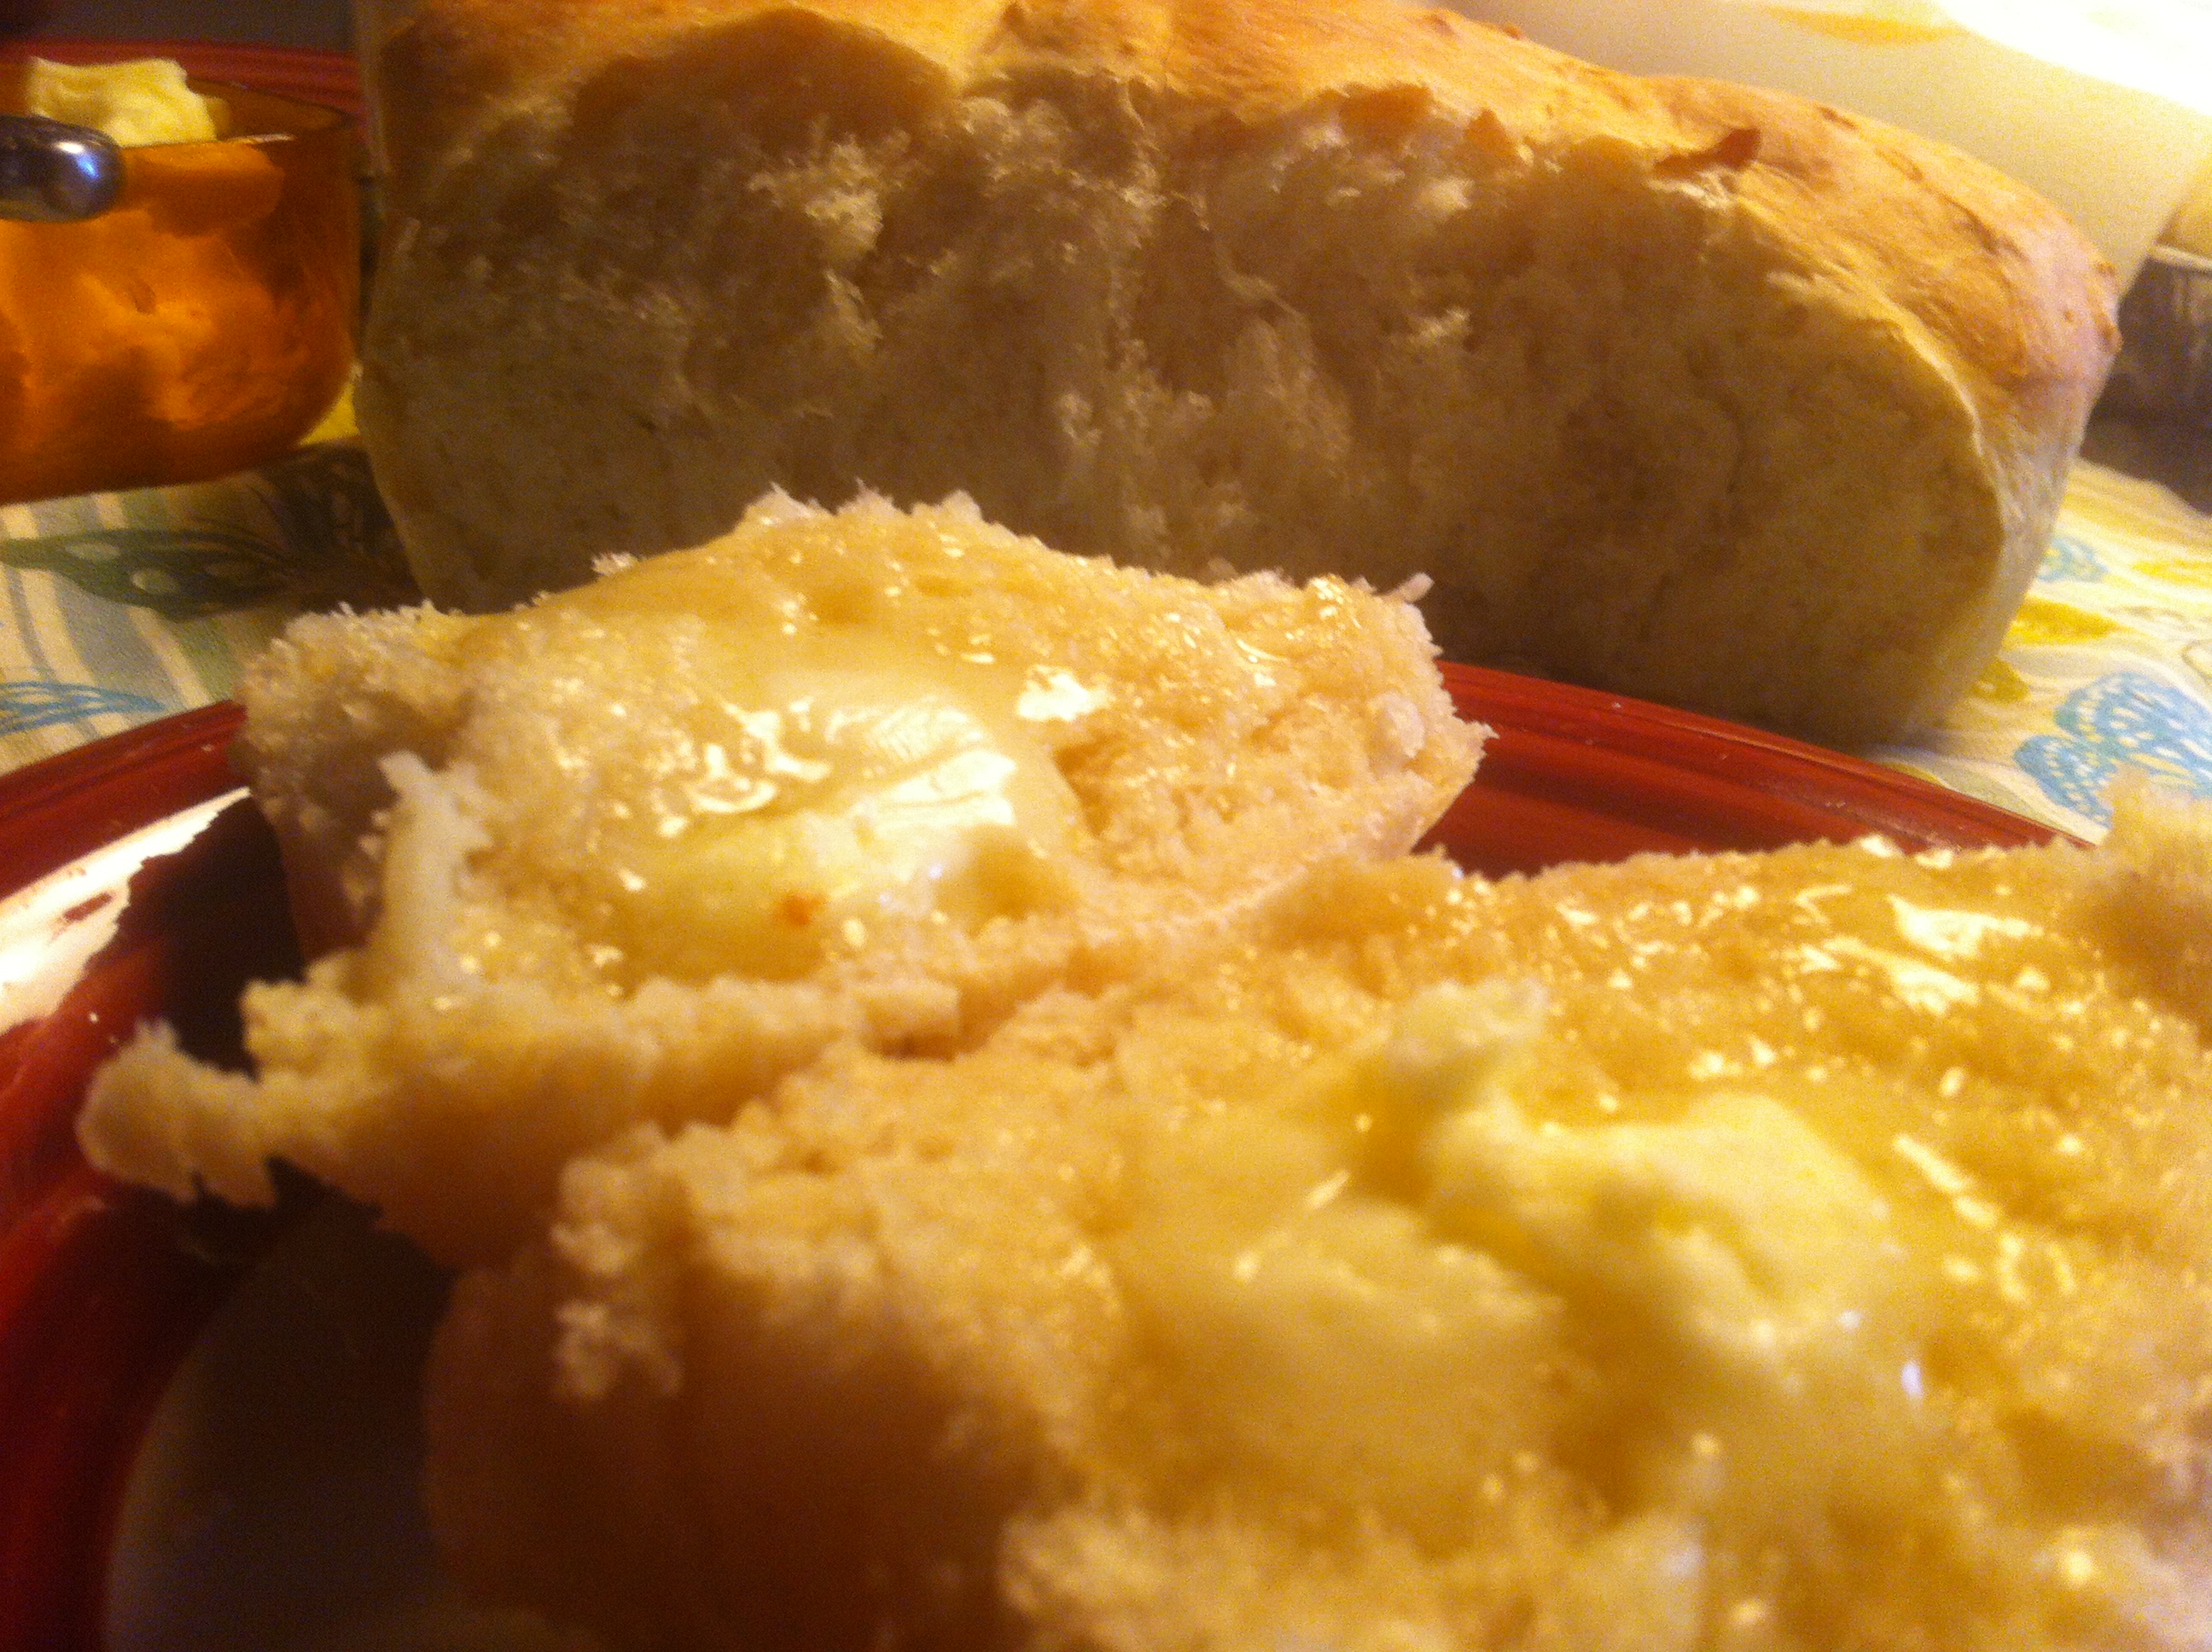
When you are ready to eat some simply pull apart the sections.
By the way, this bread freezes very well, it also makes fantastic gifts. Imagine all the ways you can present it.
ARE YOU HUNGRY YET?
Look at that texture…

Mmmm mmm mmm, so good and it’s no longer a “secret” family recipe.
Pull up a chair, I’ve got real butter and the bread is still nice and warm…I saved you a piece…
Everyone has a great childhood “kitchen memory”…what’s yours?
P.S. When my Dad found out I was baking his mother’s bread today, he drove across town just to have the first piece hot out of the oven, slathering it with butter and boysenberry jam.

I think I passed the test, don’t you?

DAY #8 OF NaBloPoMo, BlogHer, yeah write and NanoPoblano
Related articles
- Apple Bread Pudding (frugalupstate.com)
- Bread Machine Tortillas Recipe (granniesrecipebox.wordpress.com)
- Meet Granny Franny, the 82-Year-Old Homecoming Queen (people.com)
- How To Make Bread (simple-green-living.com)
- Swiss Bread: Pain Paysan (dairyfreeswitzerland.wordpress.com)
- {Anna}Banana Bread (scrumptiousbiteshappylife.com)
- Another blog about baking … ? (breadphilosophy.wordpress.com)
- Homemade Bread Bowls (bakerbettie.com)
-
- Fantastic family food blogs | Sainsbury’s Money Matters (sainsburysbank.co.uk)
- Cooking For the Holidays: My Favorite Food Blogs (allthatsparkles.typepad.com)
- From Grandma’s cookbook . . . (mutinymama.wordpress.com)
- Minnie’s recipes: the truth about my family’s Syrian cooking (ohshecooks.com)
- Traditions and Recipes (tammyheff.wordpress.com)
- Homemade Turkey and Dumplings (cantstayoutofthekitchen.com)
- The Tooth Fairy (Sort of) Screwed Up
- FDA BANS INGREDIENT THAT NEVER BELONGED IN OUR FOOD
- Stinky Stuff
- It’s Friday, folks…
- in which I share a cup with Gwyneth Paltrow
- Intentional Insomnia
- Under the Wire
- Coffee Mornings
- One Week Down, Blog Lovin – NaBloPoMo

Thanks for linking to my blog. Grandmothers really are very special, aren’t they?
LikeLike
Absolutely! I miss them both so much.
LikeLike
Thanks for the link love. Great post.
LikeLike
You’re welcome and thanks. It was a lot of fun. I did all the baking yesterday 🙂
LikeLike
It looks wonderful!
LikeLike
Thank you. I have already given most of it away otherwise I would eat it all LOL.
LikeLike
Pingback: You’re a Few Days Late | Cheri Speak
That bread looks so beautiful and delicious. Well worth all of that waiting for it to rise.
LikeLike
Yessssssssssss thank you so much!
LikeLike
This looks so good, I licked my computer screen. 🙂
My mom always made bread from scratch. Just reading this brought me back to her kitchen. About 5 years ago, I learned I needed to be GF, and a year later my older daughter learned the same. Up until then, I had made bread the way my mom taught me.. Since then, I’ve learned how to make a pretty good GF bread so my daughters still enjoy the smells I grew up with.
Thanks much for the pingback!
LikeLike
I would LOVE the recipe, my son has Celiac. Thank you so much! And yes, I don’t make this often, nor eat bread as often.
LikeLike
Holy cow, Cheri, that doesn’t even look real! And from the picture of your dad, I assume it’s delicious, too. 🙂 You’re talented! 🙂
LikeLike
Thanks. And, yes, it is very real. I have to say this was one of the funnest posts to put together. I have a whole stack of family recipes I am going to do that way for this section: https://cherispeak.wordpress.com/family-recipes/
LikeLike
Pingback: The Last Supper | Cheri Speak
I love homemade bread sound delicious!
LikeLike
This looks fabulous! Definitely going to have to try it!(:
LikeLike
It is amazing!!! Please try it and send me a review and PICS 🙂
LikeLike
Pingback: Pictures of the Past for a Throwback Thursday | Cheri Speak